
Transform Your Home with Epoxy Resin: A Comprehensive DIY Guide
Epoxy resin is a versatile and durable material that can bring a new level of creativity to your home projects. Whether you're interested in refurbishing your floors, countertops, or creating custom furniture, epoxy resin offers a unique blend of aesthetics and functionality. This guide will take you through the necessary steps to transform your home with epoxy resin, providing tips and techniques to ensure a successful DIY project.
Understanding Epoxy Resin
Before diving into your project, it’s essential to understand what epoxy resin is and why it’s a popular choice for home renovations. Epoxy resin is a two-part compound consisting of resin and a hardener. When mixed, these components form a strong, durable plastic that can be poured over surfaces to create a glossy, glass-like finish. Its resistance to water, chemicals, and wear makes it ideal for high-traffic areas.
Benefits of Using Epoxy Resin:
- Durability: Resistant to scratches, stains, and heat.
- Versatility: Suitable for various applications, from floors to art pieces.
- Easy Maintenance: Simple cleaning and upkeep.
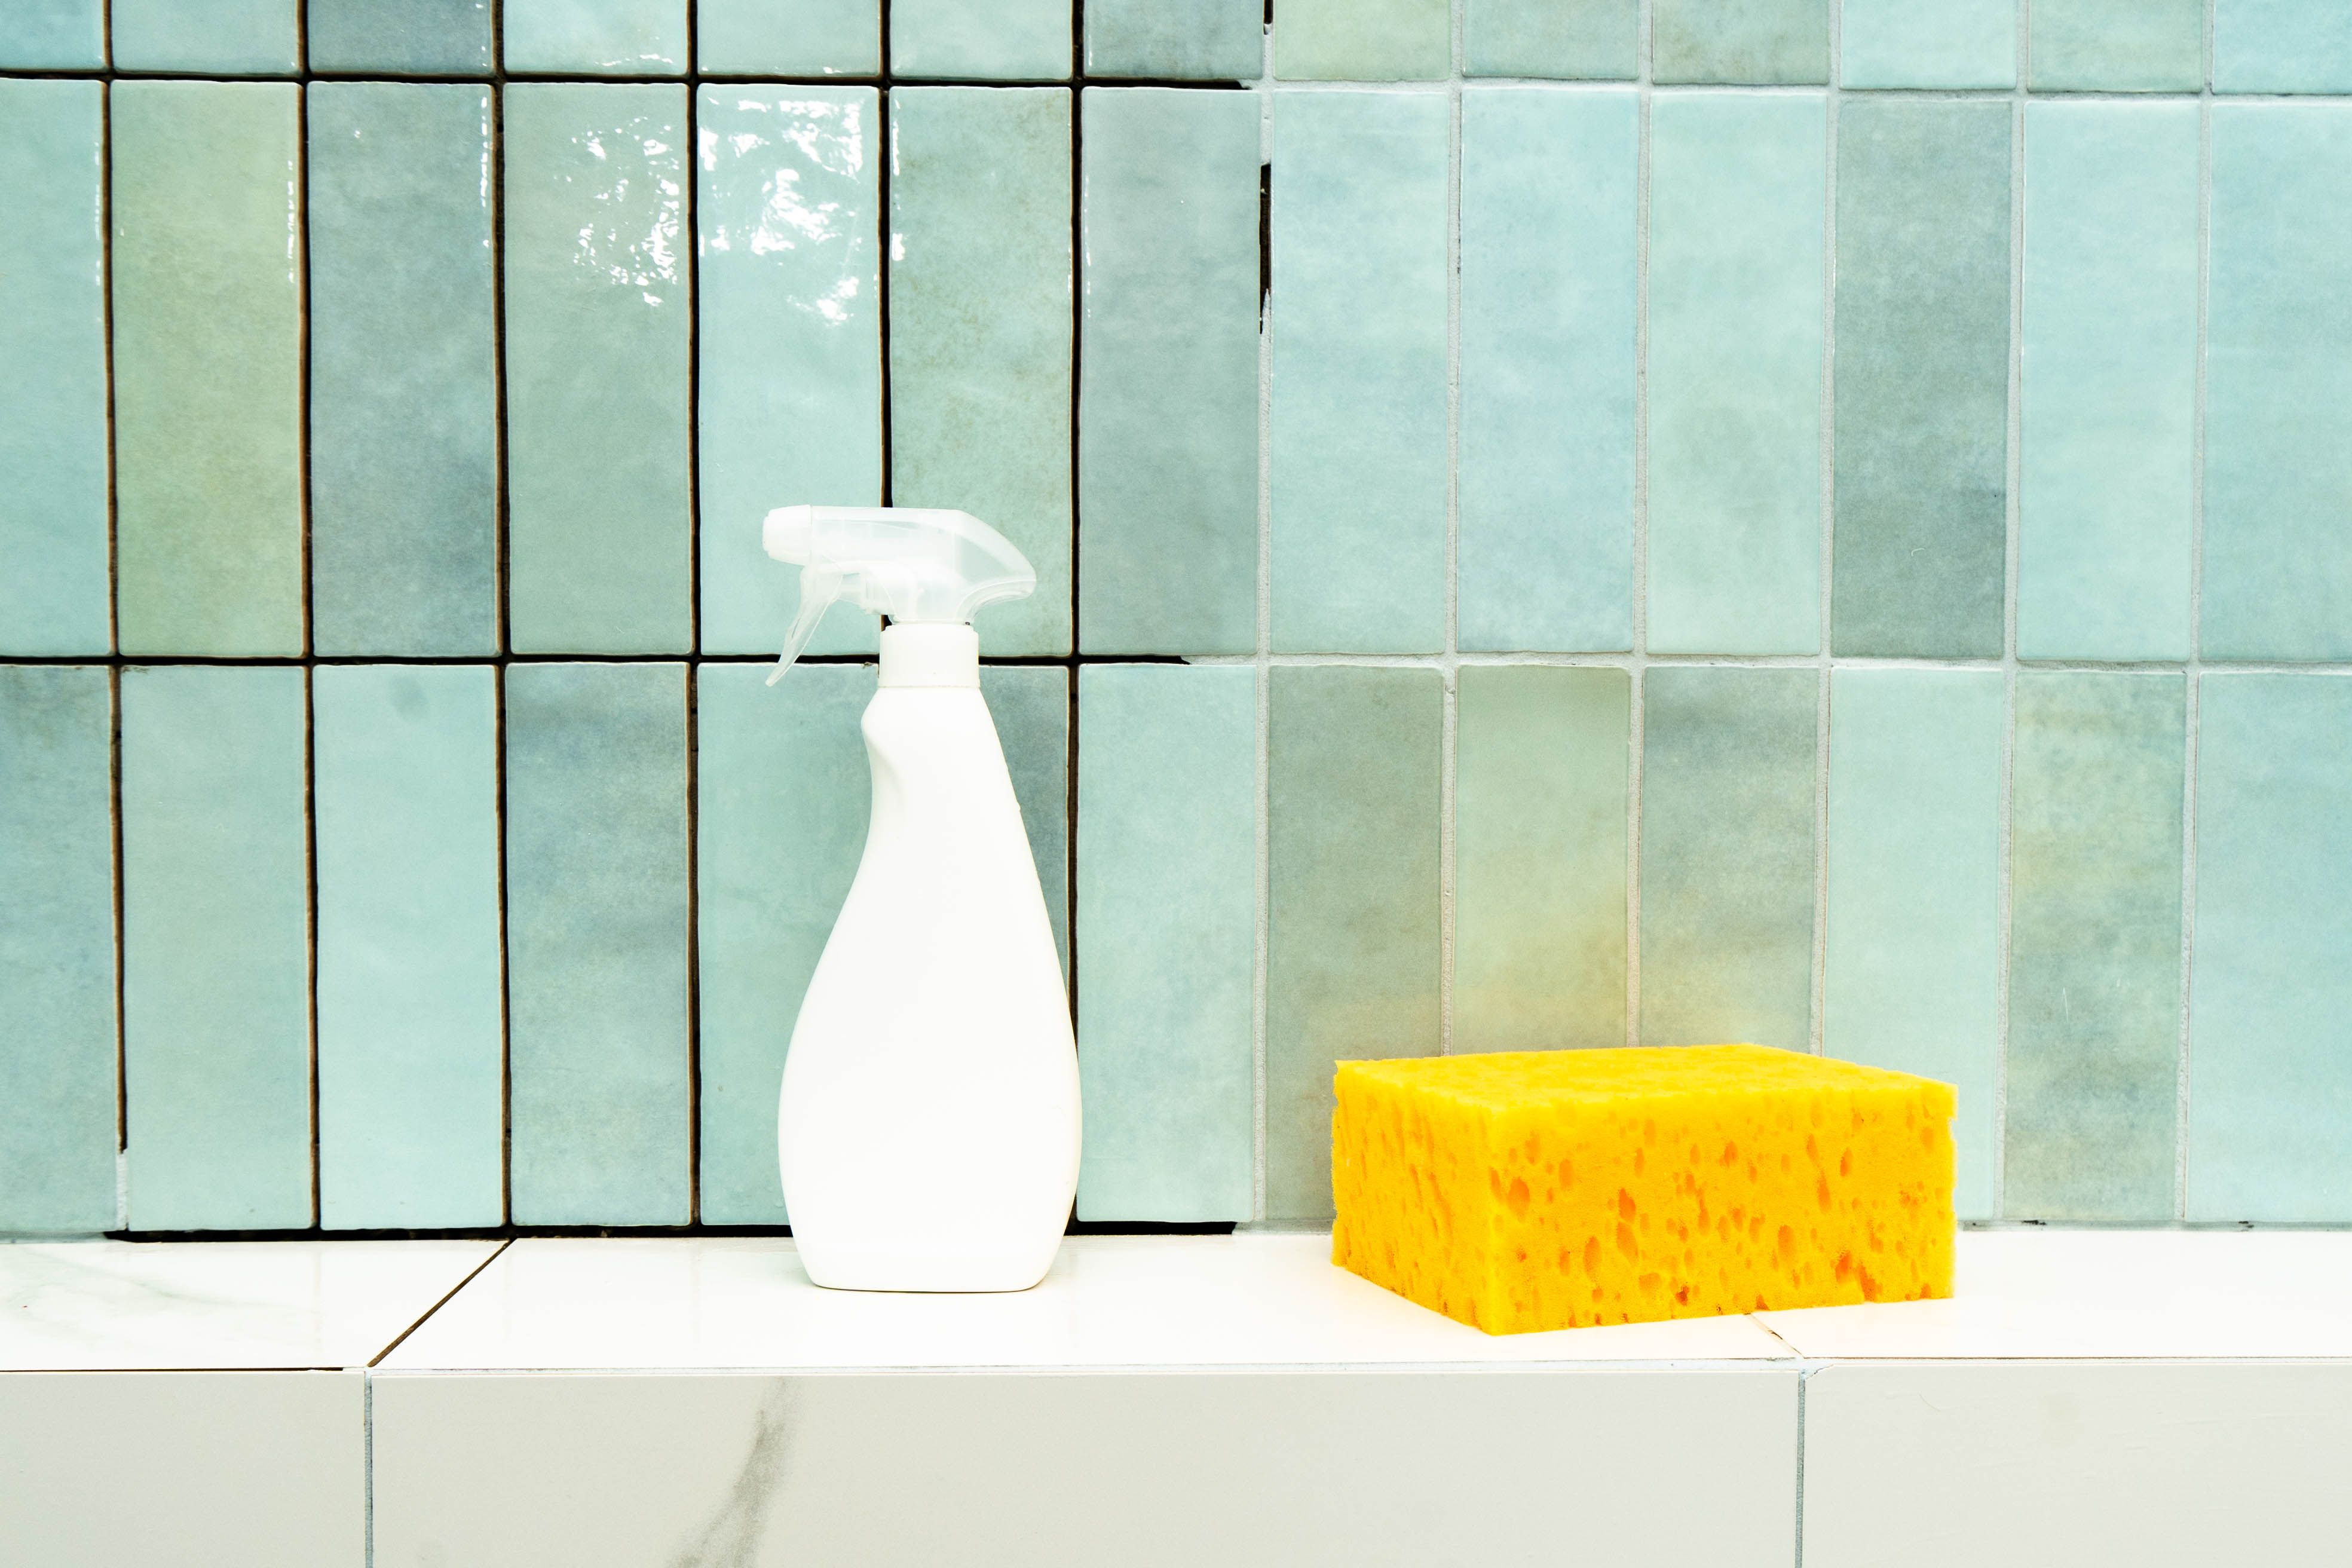
Preparing Your Workspace
Proper preparation is crucial for a successful epoxy resin project. Begin by selecting a well-ventilated area to work in, as the fumes can be strong. Ensure your workspace is free of dust and debris, as these can affect the finish of the epoxy. Cover any surfaces you wish to protect with plastic sheets or drop cloths.
Gathering Materials
Having the right materials on hand is essential. You will need:
- Epoxy resin kit (including resin and hardener)
- Mixing containers and stir sticks
- Protective gloves and eyewear
- Painter’s tape
- Heat gun or torch for removing bubbles
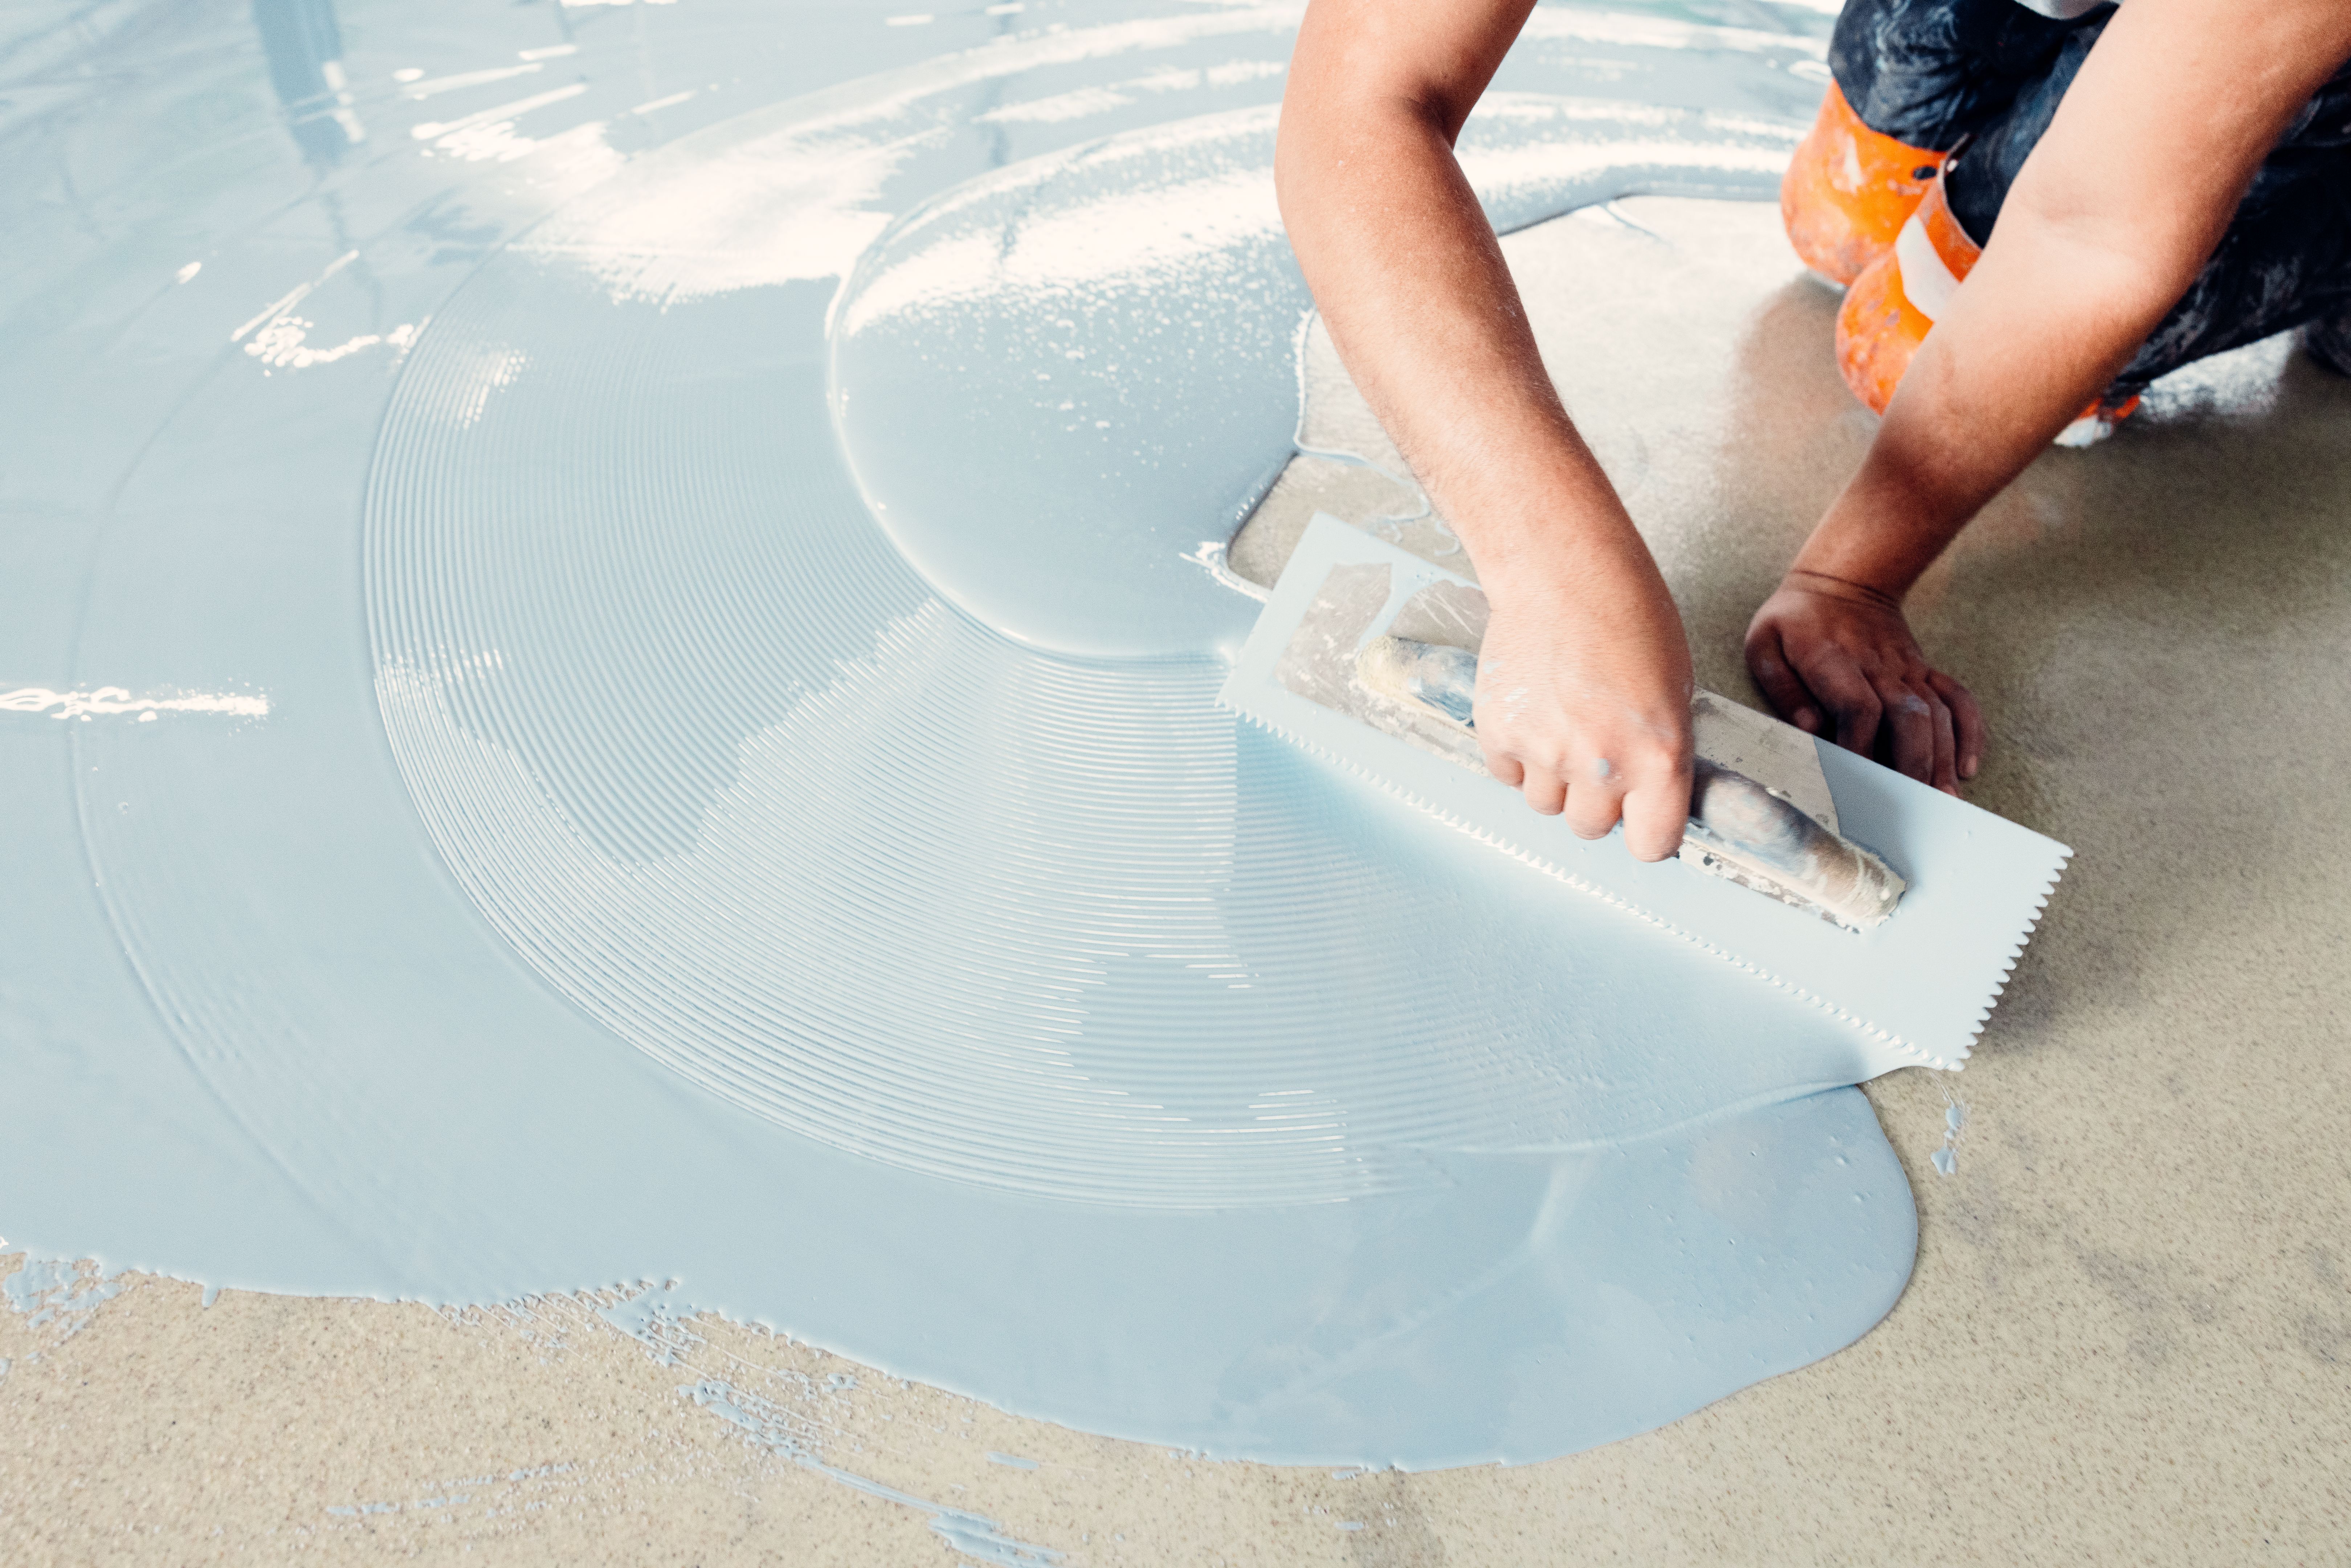
Application Techniques
Once your workspace is prepared and materials gathered, it's time to apply the epoxy. Begin by mixing the resin and hardener according to the manufacturer's instructions. Apply the mixture to your surface using a smooth, even motion. Depending on your project, you may need to apply multiple layers, allowing each to cure before adding the next.
Tips for a Smooth Finish
To achieve a flawless finish, use a heat gun or torch to remove air bubbles that may form during the application. Be cautious not to overheat the surface, as this can cause the epoxy to yellow. Additionally, ensure that your surface is level to prevent the epoxy from pooling.
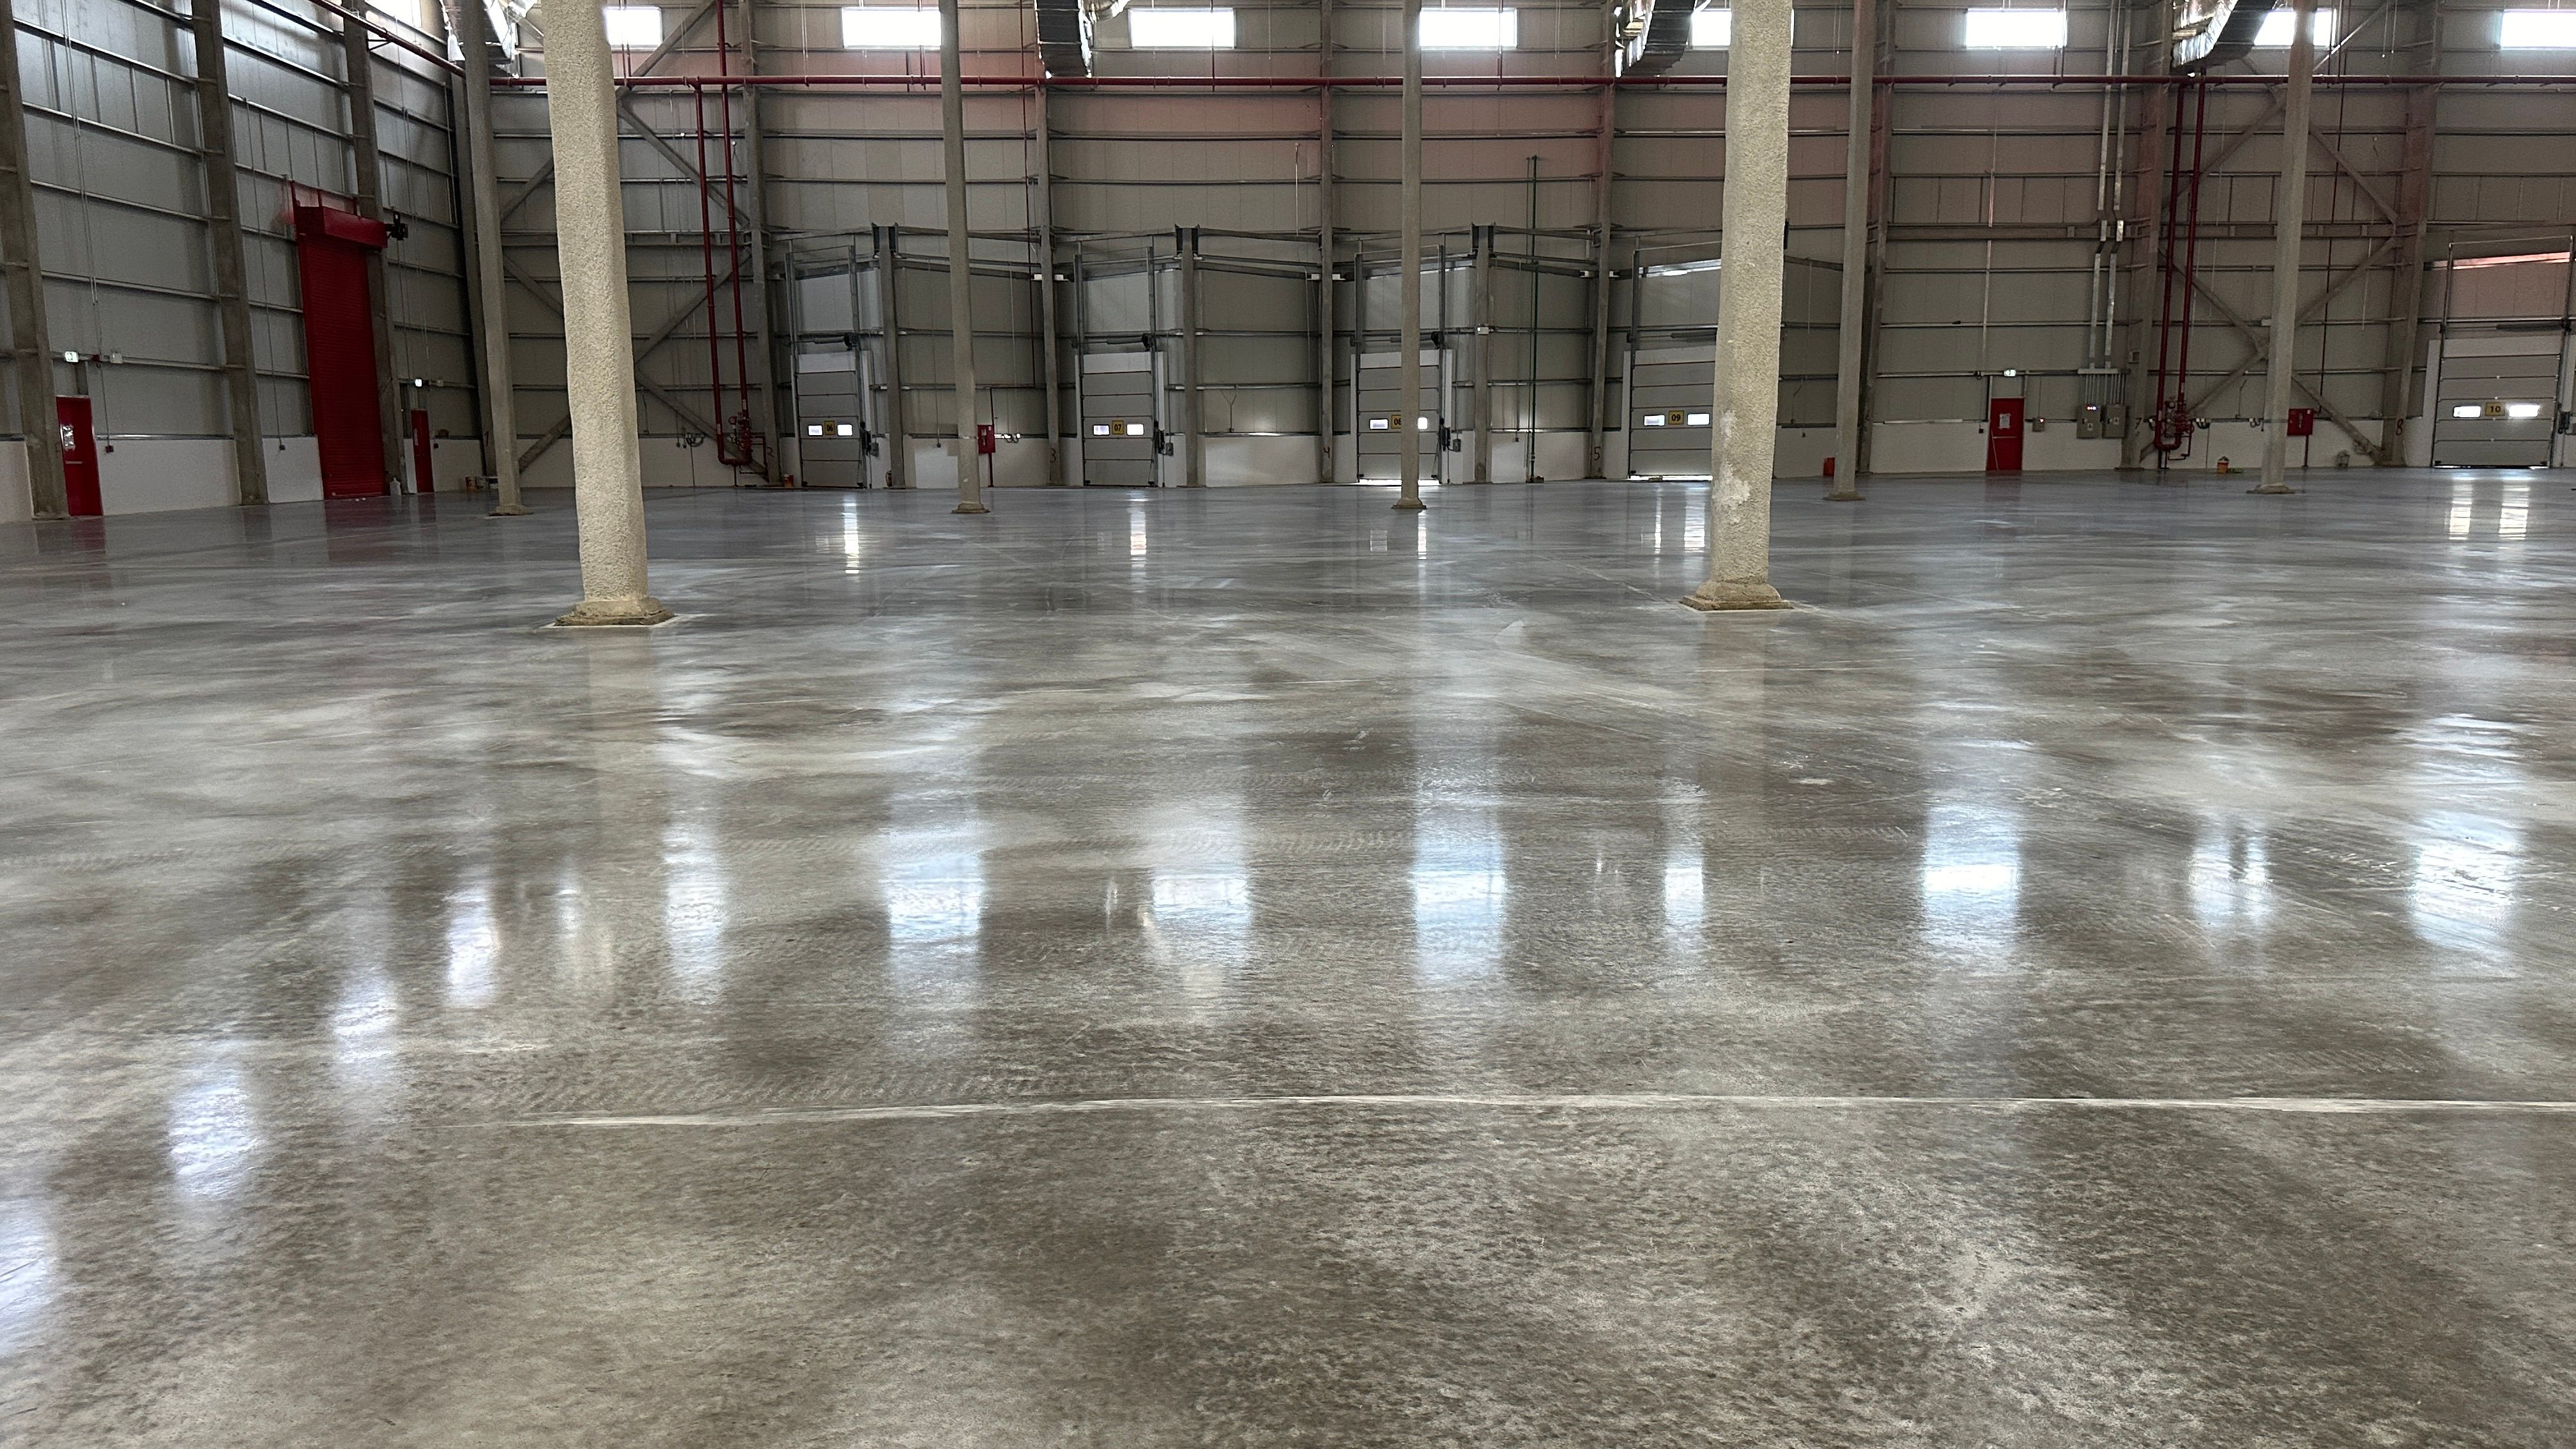
Curing and Finishing Touches
After application, allow the epoxy to cure according to the instructions provided. This process can take anywhere from a few hours to several days. Once cured, inspect the surface for any imperfections. If necessary, sand any rough areas and apply a final coat to achieve the desired finish.
Final Steps:
- Remove any tape or protective coverings.
- Gently clean the surface with a soft cloth.
- Enjoy your newly transformed space!
Transforming your home with epoxy resin can be a rewarding DIY project, offering a blend of creativity and functionality. With the right preparation and techniques, you can achieve professional-looking results that enhance the beauty and value of your home.