
DIY Tips: Preparing Your Springfield Home for a Concrete Overlay
Concrete overlays are a fantastic way to rejuvenate the surfaces of your home, giving floors, patios, and driveways a fresh and modern look. If you're considering a DIY project to enhance your Springfield home with a concrete overlay, proper preparation is key. This guide will walk you through the essential steps to ensure a successful application.
Understanding Concrete Overlays
Before diving into the preparation process, it's important to understand what a concrete overlay is. Essentially, it's a thin layer of cement-based material applied over existing concrete. Overlays can be used to improve the appearance of surfaces or to repair minor damages. They come in various styles and textures, allowing for customization to match your aesthetic preferences.
Benefits of Concrete Overlays
Concrete overlays offer numerous benefits. They are cost-effective compared to replacing the entire slab, provide durability, and can be customized with colors and patterns to enhance curb appeal. Additionally, they create a smooth, slip-resistant surface ideal for both indoor and outdoor areas.
Preparing the Surface
The first step in preparing your Springfield home for a concrete overlay is ensuring the existing surface is clean and sound. Here's how to do it:
- Clean the Surface: Remove any dirt, oil, grease, or other contaminants by scrubbing with a mild detergent or power washing.
- Repair Damages: Fix any cracks or holes in the existing concrete. Use a concrete patching compound to fill in imperfections.
- Level the Surface: Ensure the surface is level by sanding down high spots or adding a leveling compound to low areas.
Tools and Materials Needed
Gathering the right tools and materials before starting the project can save time and frustration. Some essentials include:
- Trowel and squeegee for applying the overlay
- Concrete bonding adhesive
- Mixing drill and paddle
- Protective gear like gloves and goggles
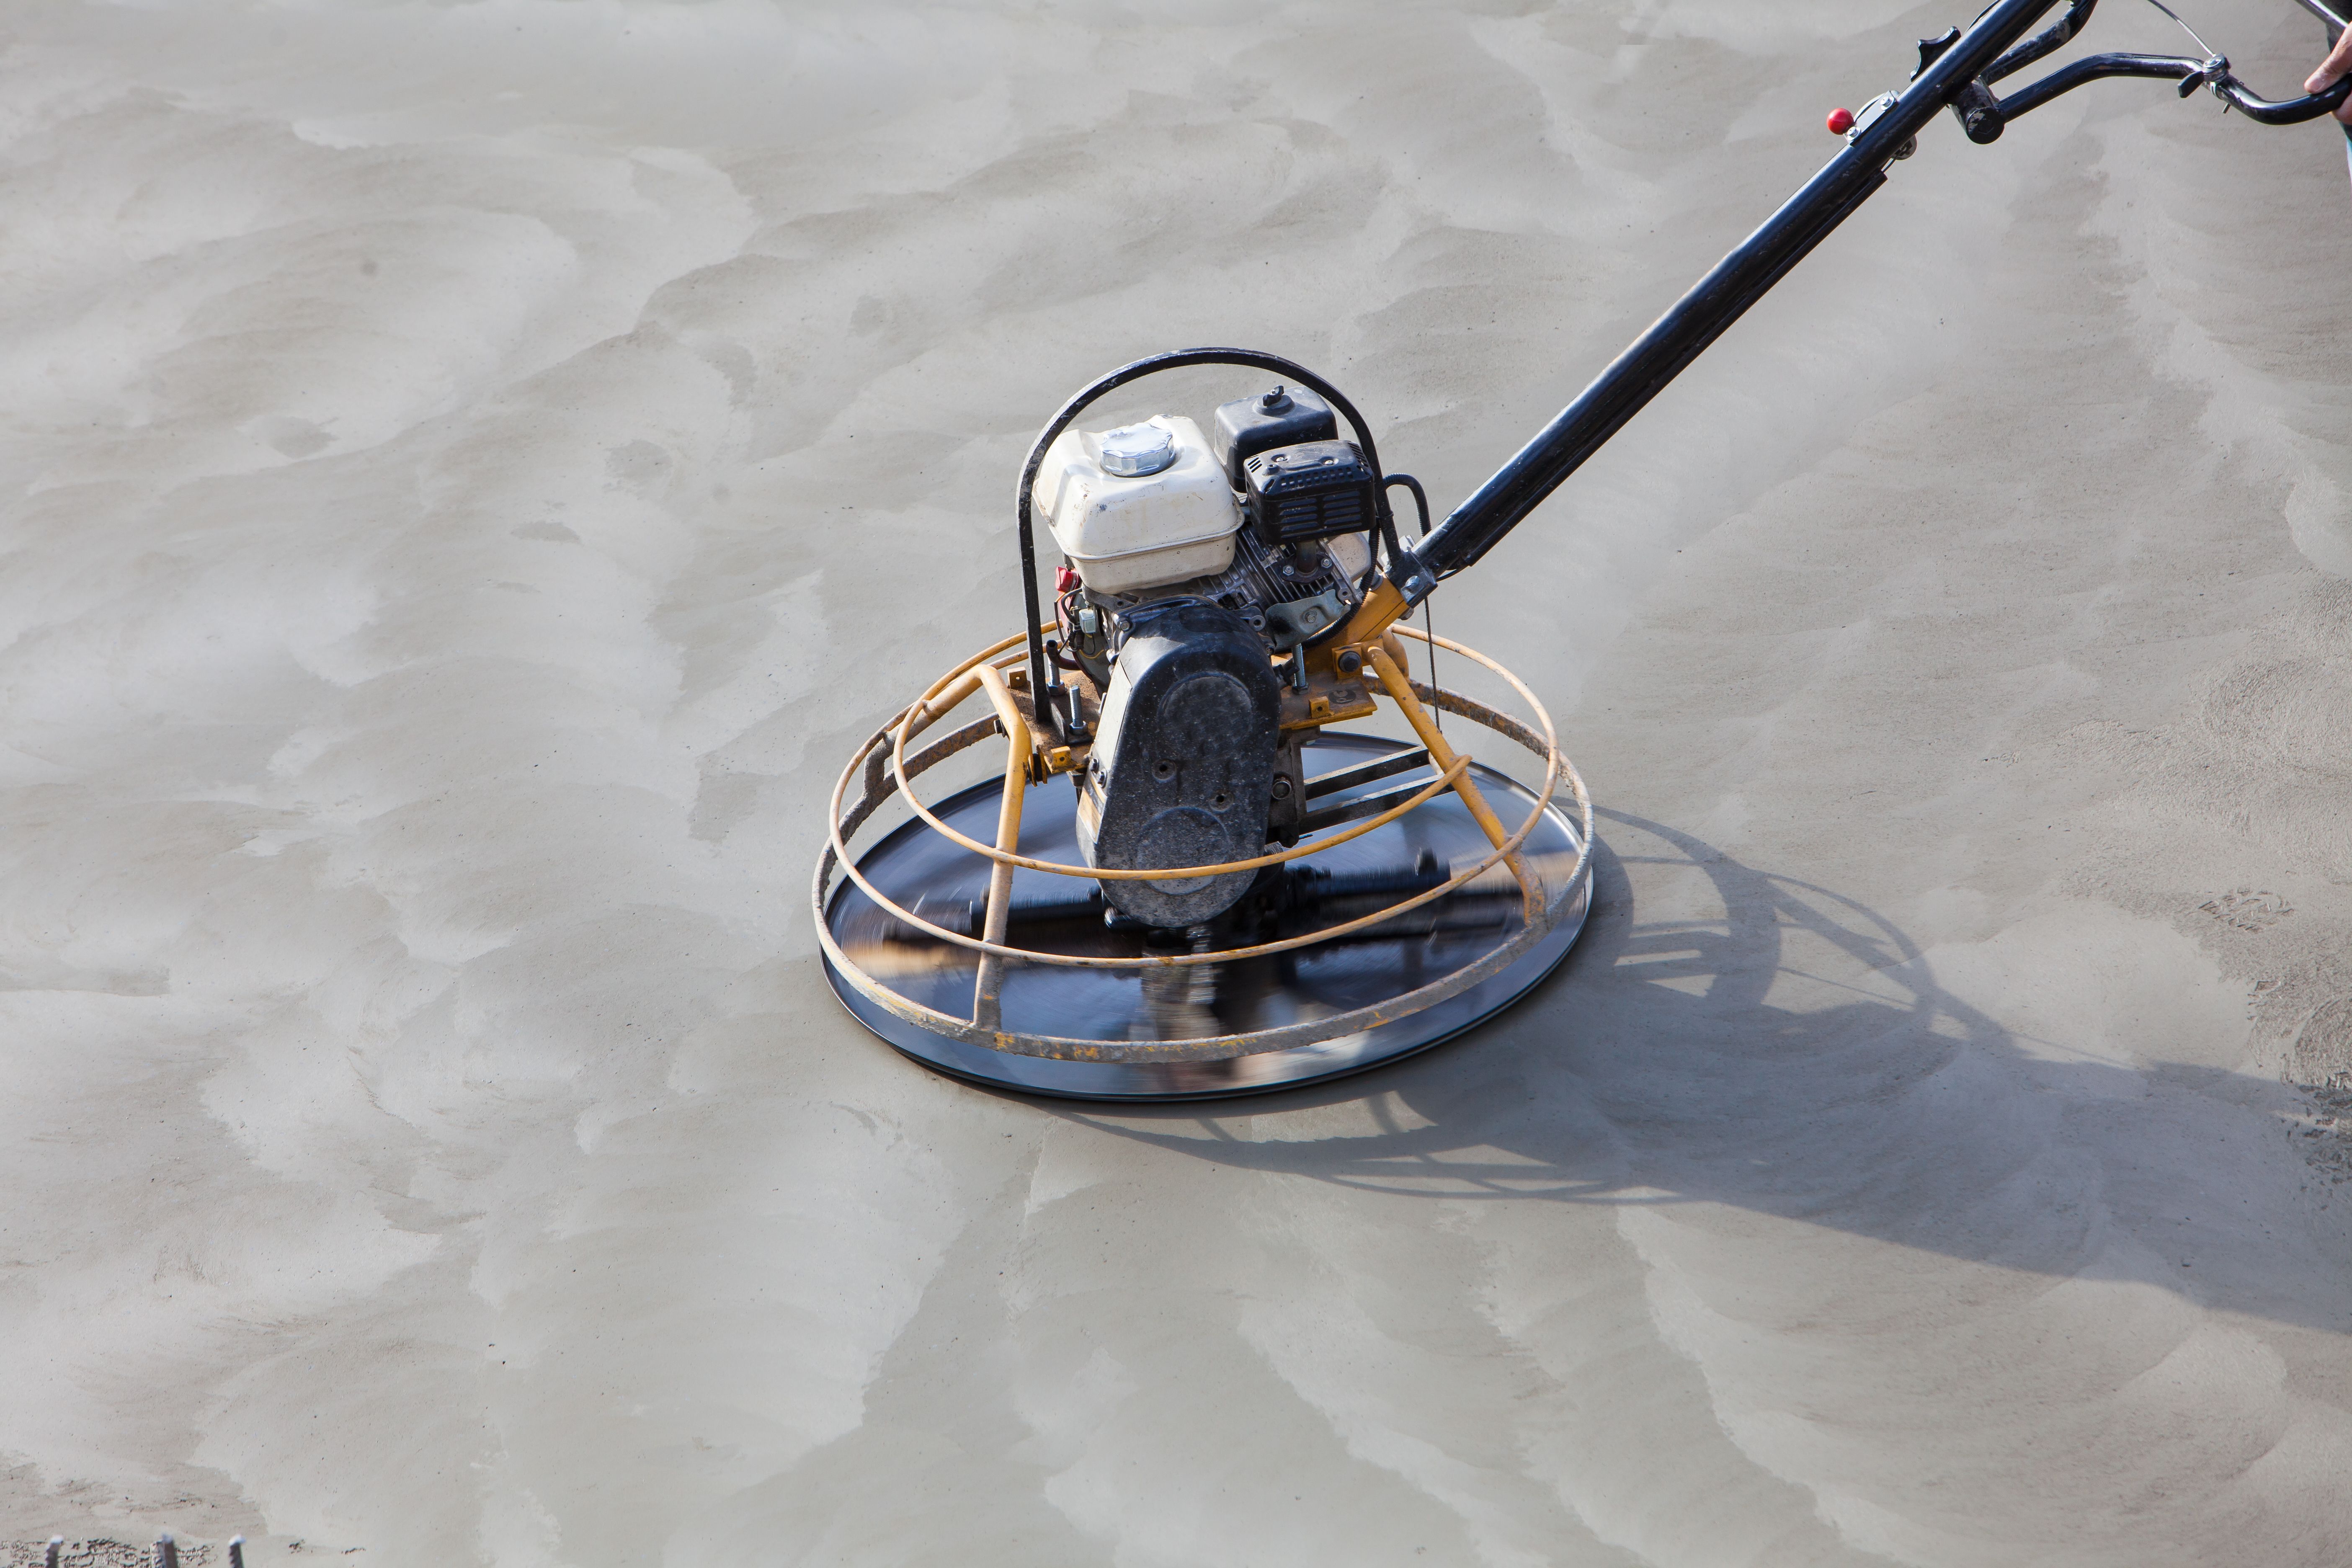
Applying the Concrete Overlay
Once your surface is prepped, it's time to apply the overlay. Follow these steps:
- Mixing: Follow the manufacturer's instructions for mixing the overlay material. Use a drill and paddle for consistency.
- Priming: Apply a concrete bonding adhesive to ensure the overlay adheres properly to the existing surface.
- Application: Pour the mixture onto the surface and use a trowel or squeegee to spread it evenly. Work in small sections to avoid drying before finishing.
Curing and Finishing Touches
After application, allow the overlay to cure as per the instructions provided by the manufacturer. Typically, this involves keeping the surface moist and protected from direct sunlight for a specified period. Once cured, you can add any desired finishes, such as staining or sealing, to enhance durability and appearance.
Maintaining Your New Surface
Proper maintenance will extend the life of your new concrete overlay. Regular cleaning with mild soap and water, along with periodic resealing, will keep it looking pristine. Avoid using harsh chemicals that could damage the surface.
By following these DIY tips, you can successfully prepare your Springfield home for a concrete overlay, resulting in beautiful and durable surfaces that stand the test of time.