
DIY Epoxy Wall Coatings: A Step-by-Step Guide for Home Renovators
Introduction to Epoxy Wall Coatings
Transforming your home with DIY epoxy wall coatings can be an incredibly rewarding project. Not only do these coatings offer a sleek, durable finish, but they also provide a unique aesthetic that can enhance any room. Whether you're looking to upgrade your kitchen, bathroom, or any living space, epoxy coatings present an excellent option for home renovators.
Epoxy wall coatings are renowned for their resilience and easy maintenance. They are resistant to moisture, stains, and even chemicals, making them an ideal choice for high-traffic areas. The application process might seem daunting at first, but with the right guidance and materials, you can achieve professional-looking results.
Gathering Your Materials
Before embarking on your epoxy wall coating project, it's crucial to gather all the necessary materials. Here's a checklist to help you get started:
- Epoxy resin and hardener
- Primer and sealant
- Painters tape
- Sandpaper or sanding block
- Paint roller and brush
- Squeegee
- Protective gear (gloves, goggles, and mask)
Having these items on hand will ensure a smooth workflow and help you avoid unnecessary delays.
Preparing the Surface
Proper surface preparation is key to a successful epoxy application. Begin by cleaning the walls thoroughly to remove any dirt, grease, or previous coatings. Use a mild detergent and water solution for this task. Once cleaned, allow the walls to dry completely.
Next, sand the surface lightly to create a slightly rough texture that will help the epoxy adhere better. It's important to fill any cracks or holes with a suitable filler and sand them smooth afterward. Finally, apply a primer to ensure an even base for the epoxy coating.
Mixing and Applying Epoxy
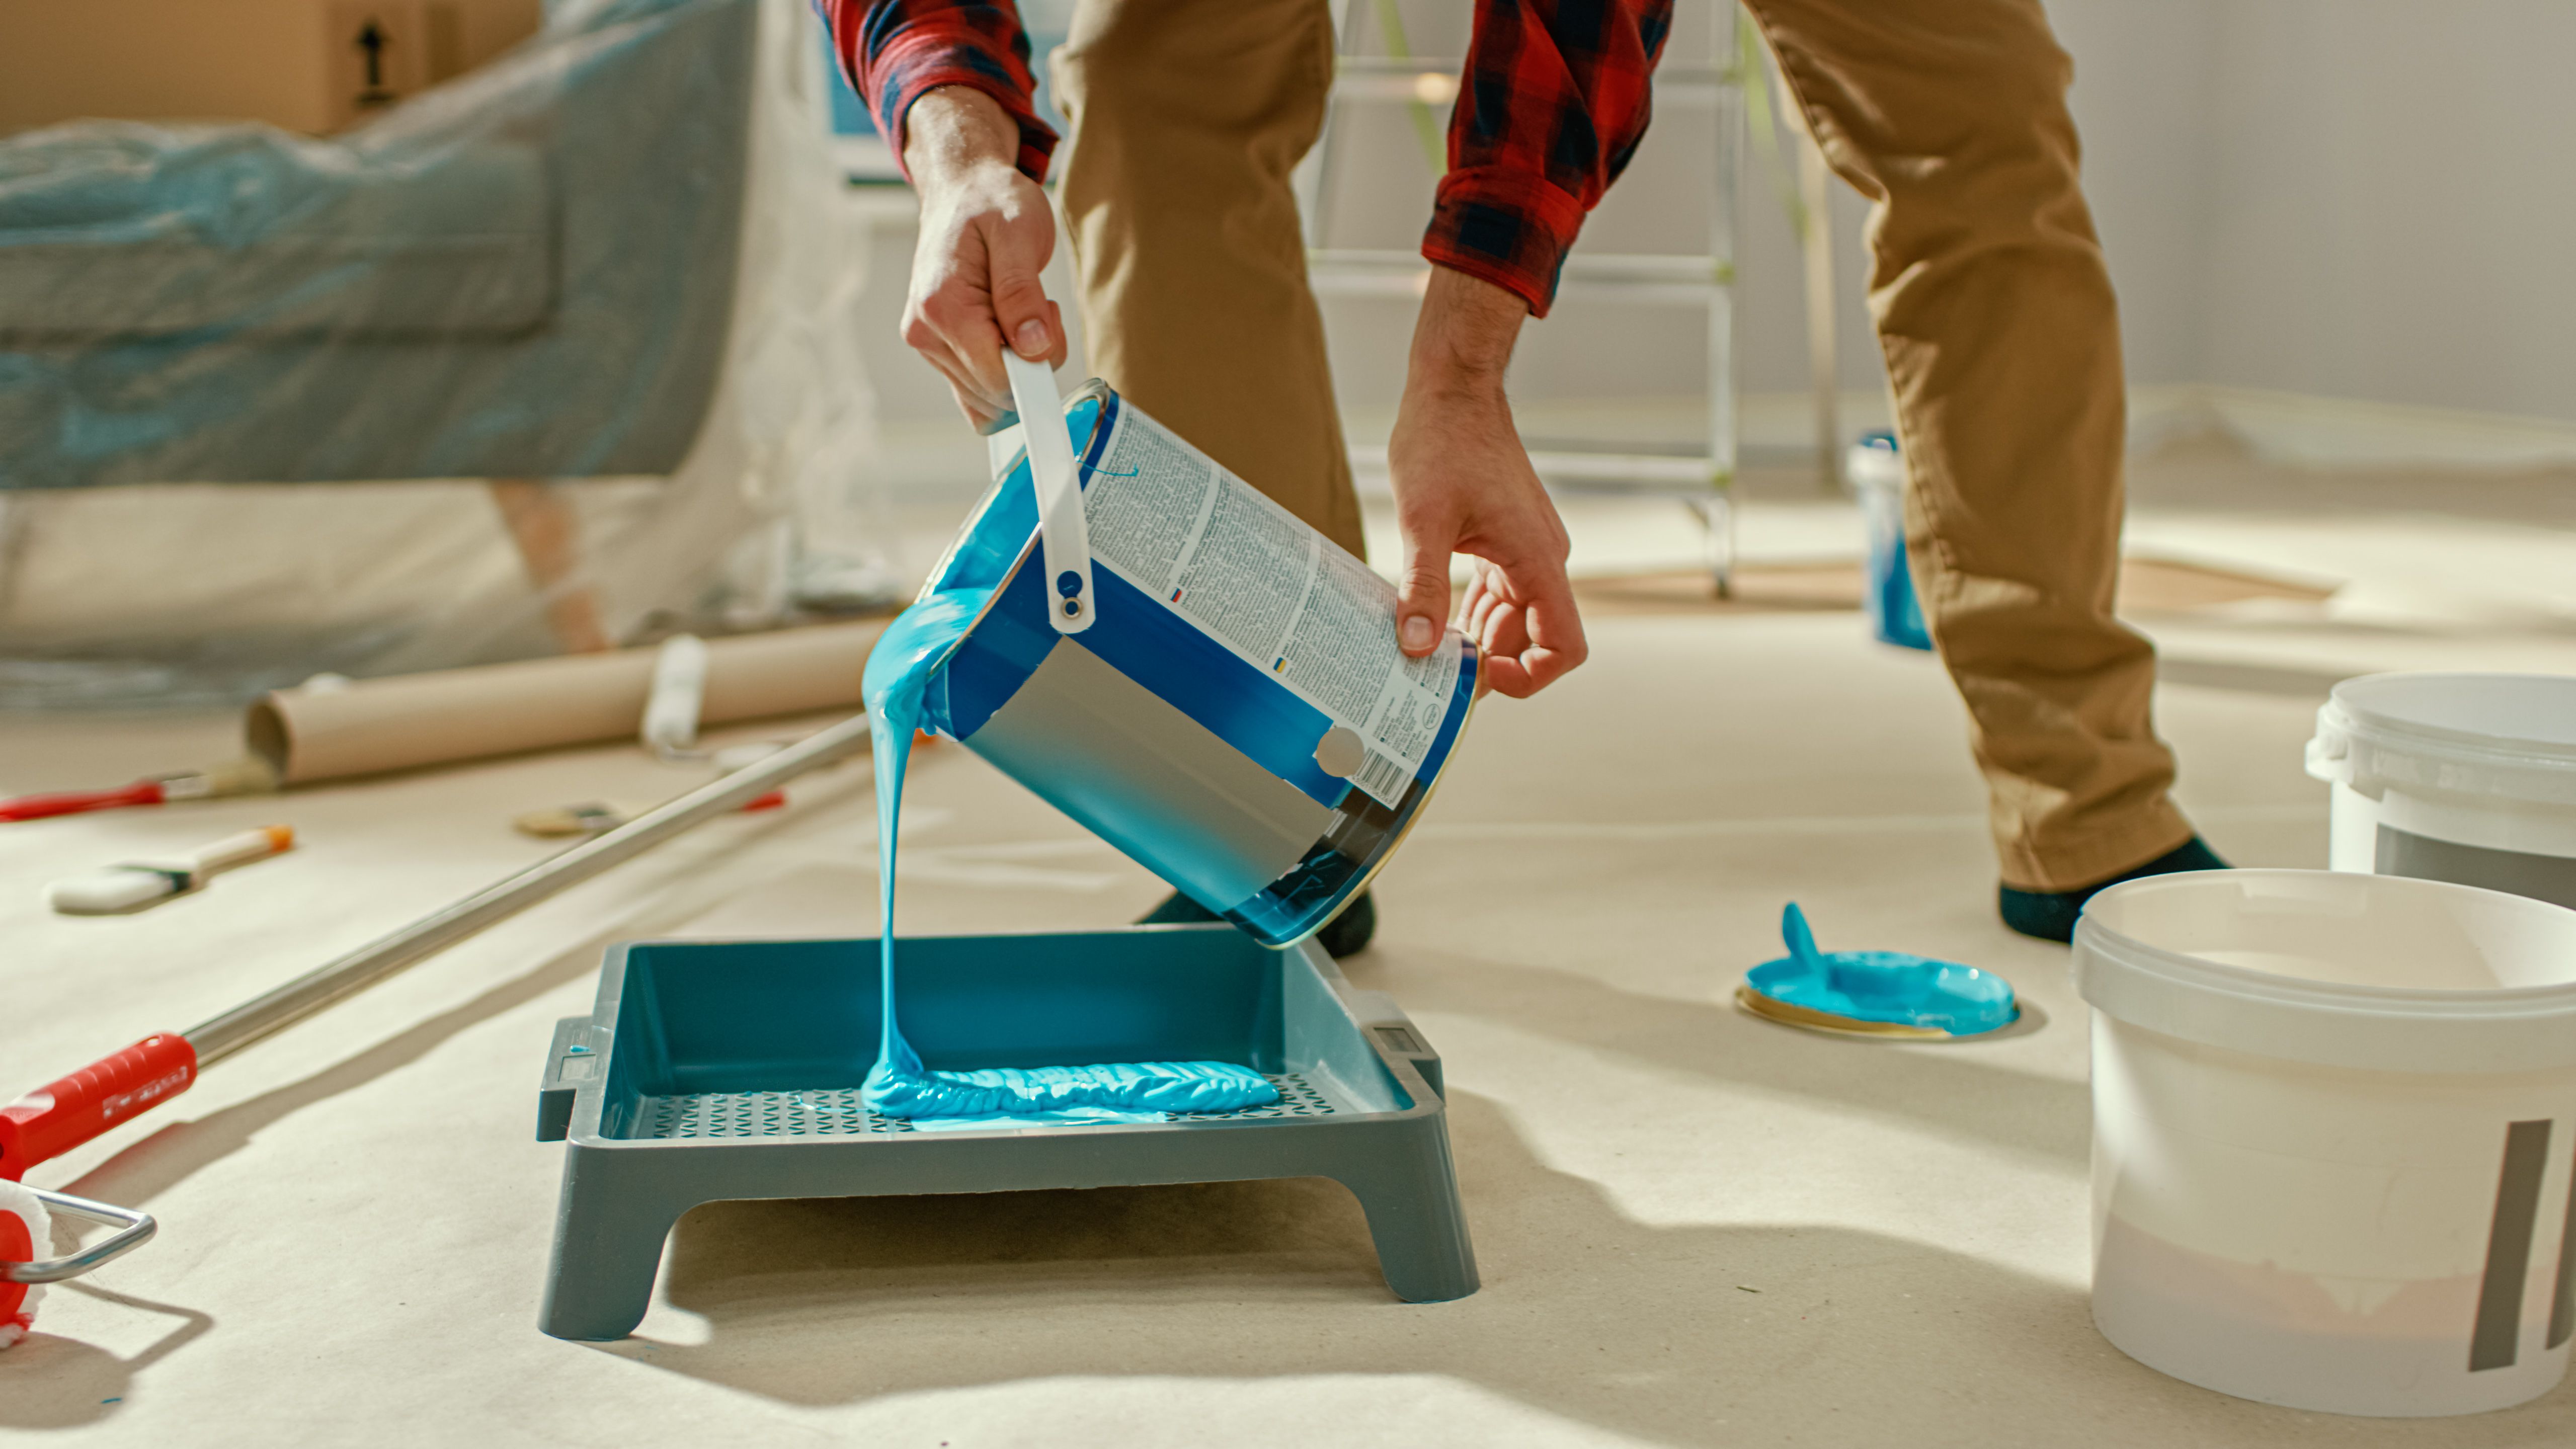
Mixing the epoxy resin and hardener is a critical step. Follow the manufacturer's instructions carefully for the correct ratio and stirring time. Once mixed, you’ll have a limited working time before the epoxy begins to set, so be prepared to work quickly.
Start by applying a thin coat of epoxy using a roller or brush. Work in small sections to ensure even coverage and avoid drips or pooling. Use a squeegee to smooth out any bubbles and ensure a uniform finish. Allow this first coat to cure as per the product's instructions before applying additional layers if desired.
Curing and Finishing Touches
Once the final coat is applied, the curing process begins. Allow the epoxy to cure completely as per the manufacturer's guidelines, which usually takes between 24 to 72 hours depending on the environment.
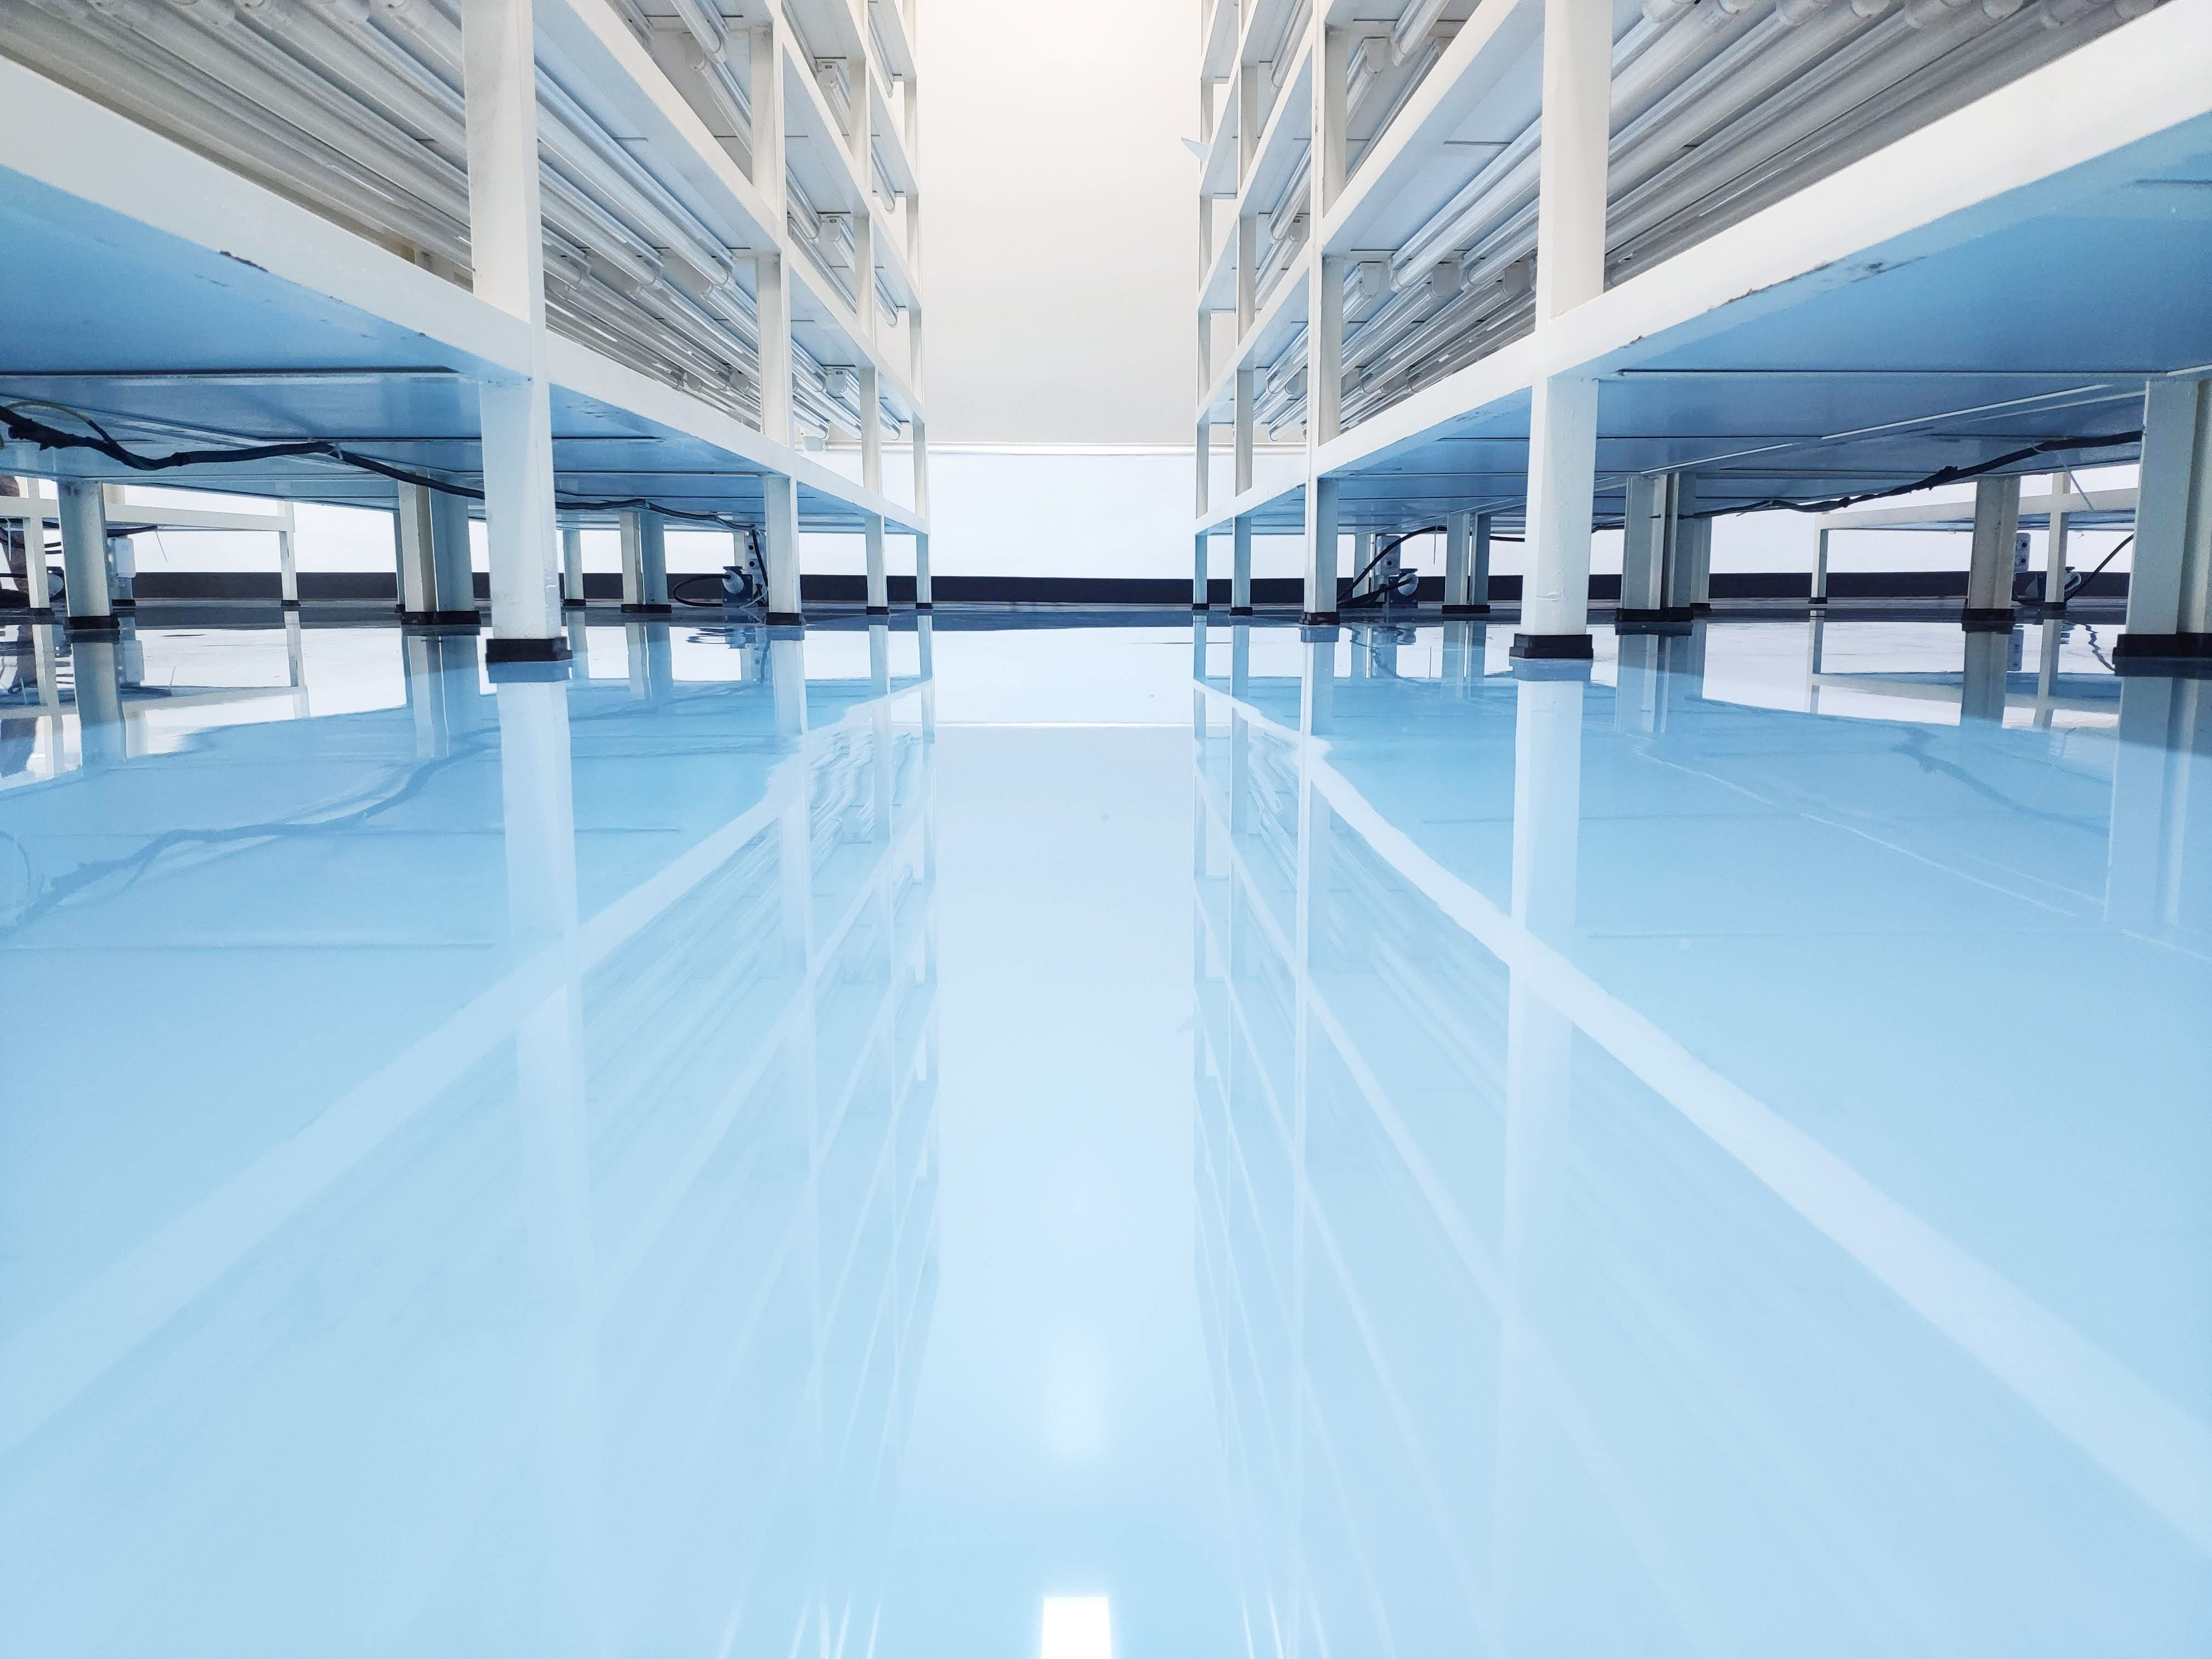
After curing, inspect the surface for any imperfections. Lightly sand problem areas and apply a sealant if necessary for added protection and gloss. The result should be a stunning, high-gloss finish that enhances your living space.
Maintenance Tips for Epoxy Walls
To maintain your new epoxy wall coating, regular cleaning with a soft cloth or mop and a gentle cleaner is recommended. Avoid abrasive cleaners that can dull the finish over time. Promptly clean up spills to prevent staining.
With proper care, your epoxy wall coating will remain beautiful and durable for years to come, making it a worthwhile investment for any home renovator.