
DIY Epoxy Countertops: A Step-by-Step Guide
Introduction to DIY Epoxy Countertops
Transforming your kitchen or bathroom with DIY epoxy countertops can be a rewarding project. Epoxy is a durable and attractive material that can mimic the look of marble, granite, or any custom design of your choice. This guide provides a step-by-step approach to creating your own stunning epoxy countertops.
Gathering Your Materials
Before you start, it's crucial to gather all necessary materials. You will need epoxy resin, a hardener, mixing containers, a heat gun or torch, and protective gear such as gloves and goggles. Additionally, choose the pigments or colorants for your design. Having everything ready will ensure a smooth process.
It's important to work in a well-ventilated area. The fumes from the epoxy can be strong, and proper ventilation ensures safety while you work. Make sure the surface you're working on is stable and covered to protect from any spills.
Preparing the Surface
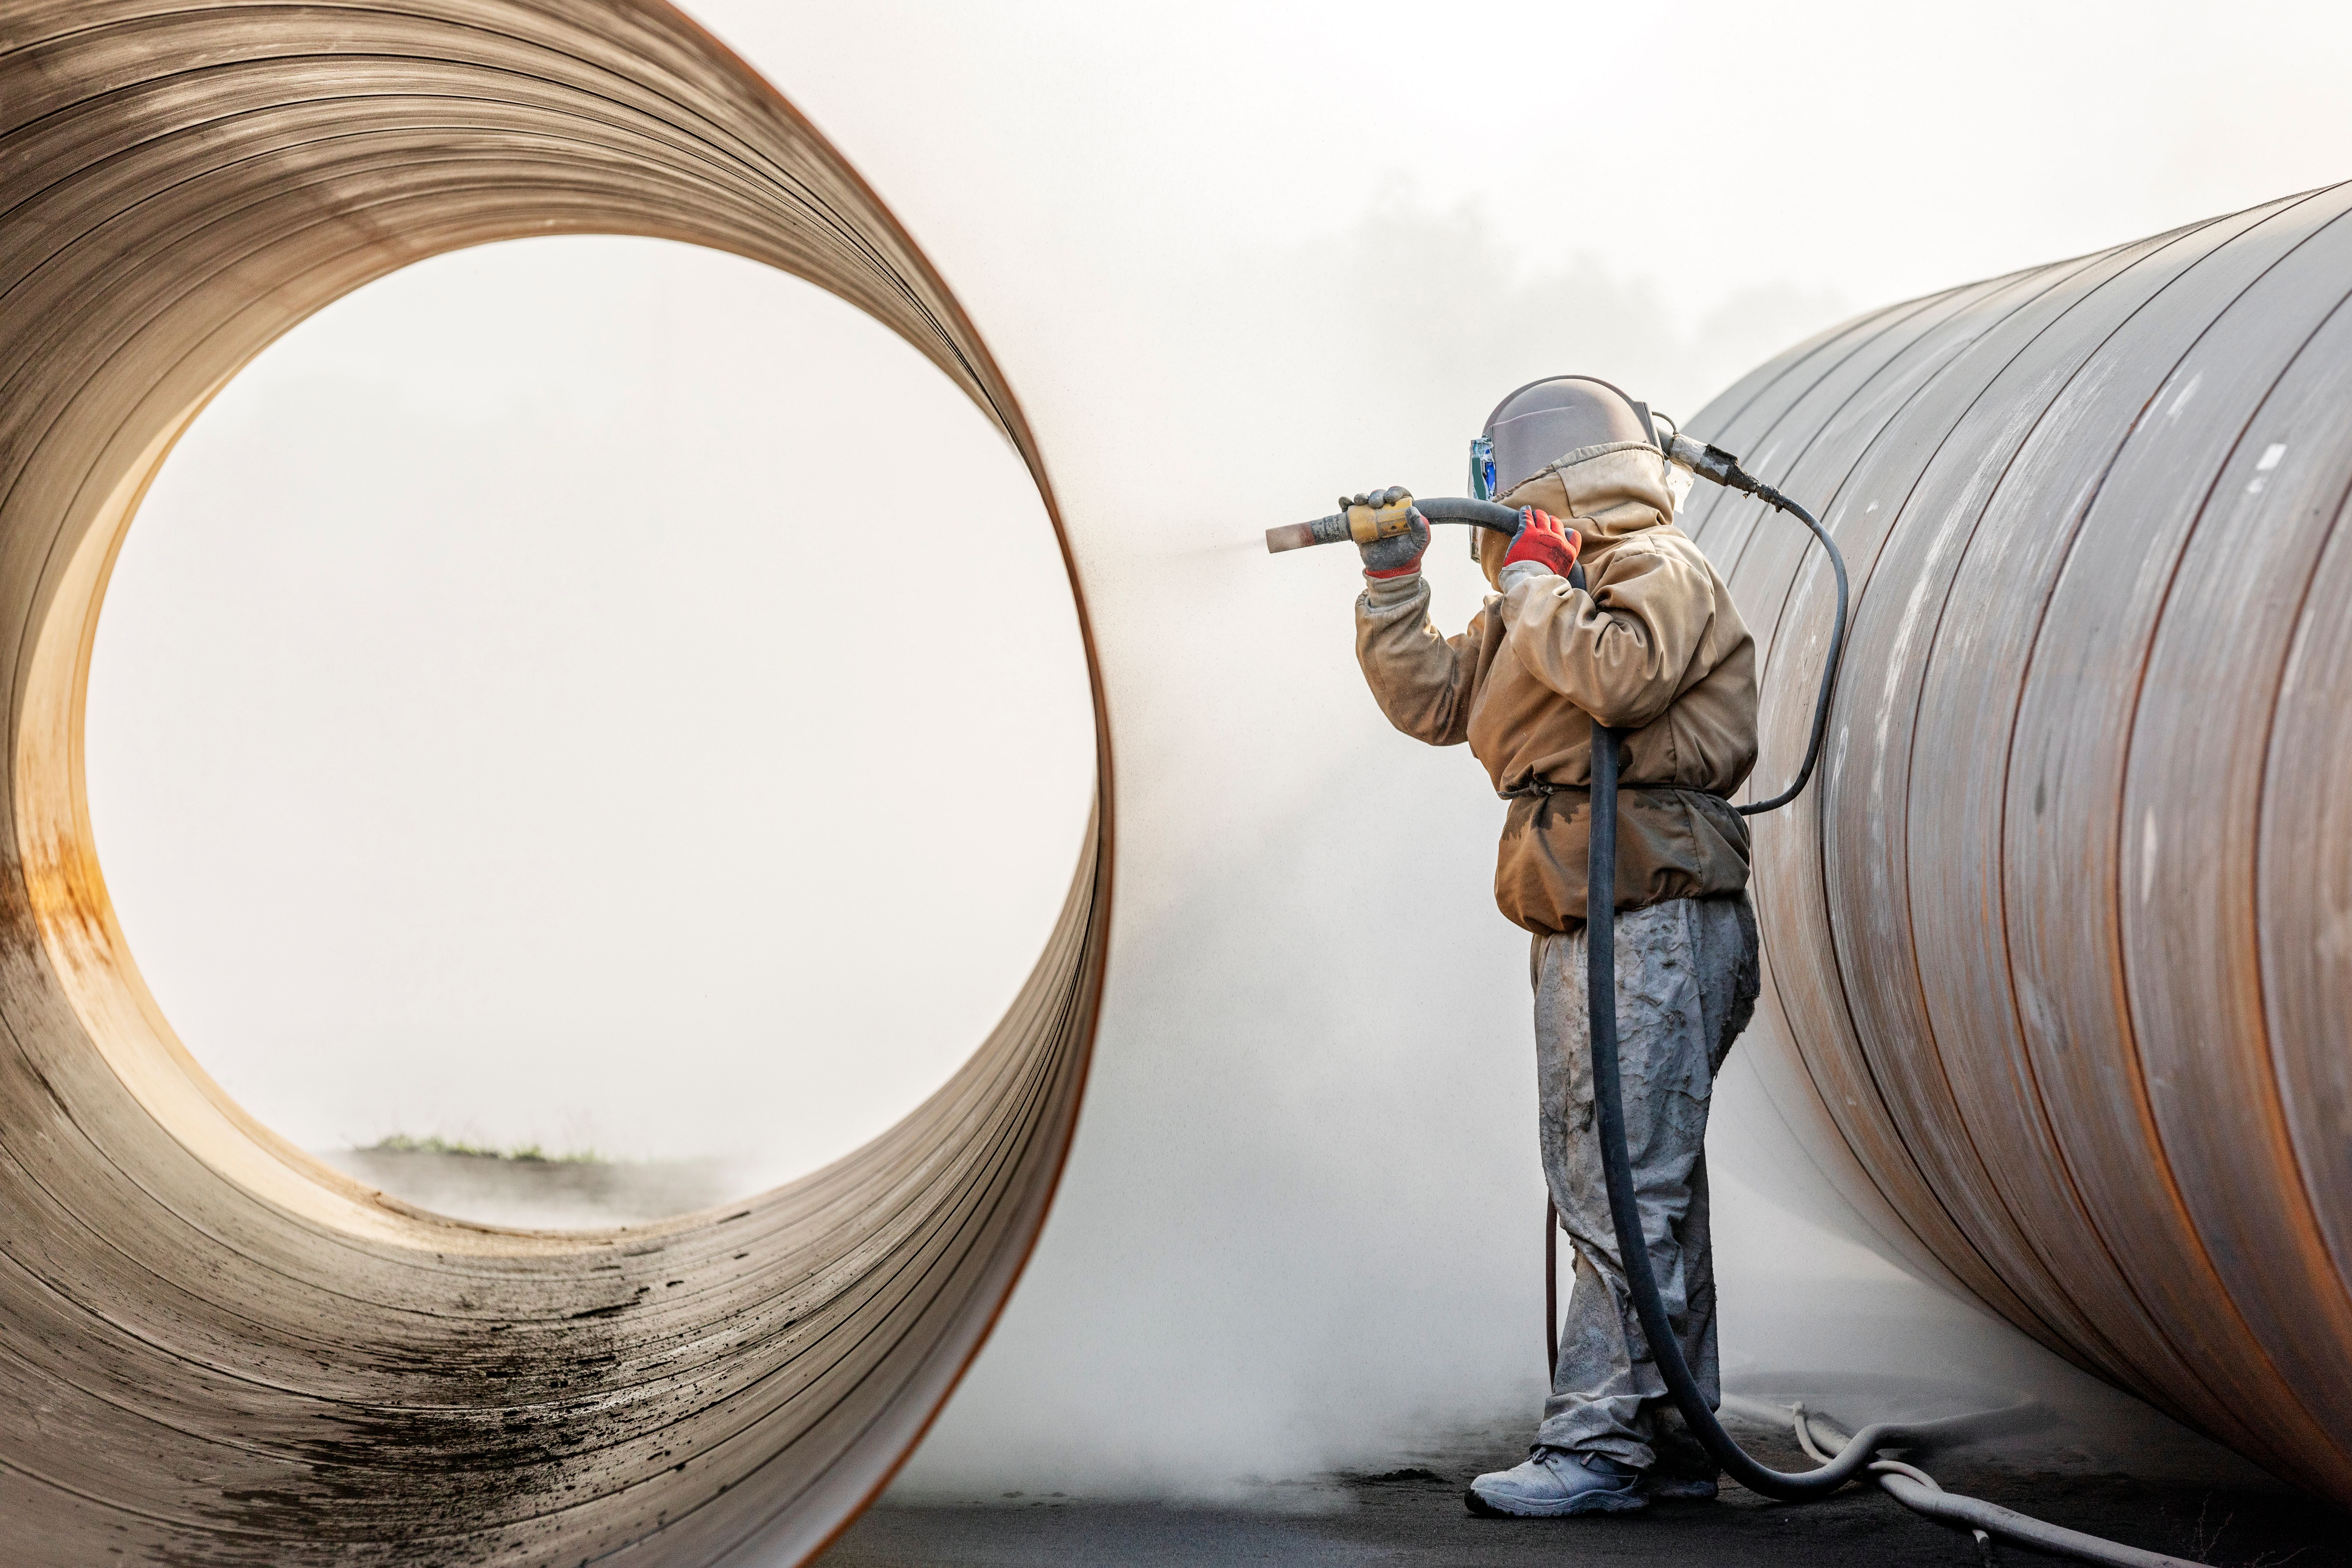
Preparation is key to a successful epoxy countertop. Start by cleaning the surface thoroughly to remove any dirt or grease. Sand the surface to help the epoxy adhere better. Once sanded, wipe it down to remove any dust particles. A clean, smooth surface will give you the best results.
After cleaning, apply a primer or base coat that complements your design. This base will enhance the colors of your epoxy and ensure even coverage. Allow it to dry completely before moving on to the next step.
Mixing and Applying the Epoxy
Mix the epoxy resin and hardener according to the manufacturer's instructions. It's vital to get the ratio right to ensure the epoxy cures properly. Stir the mixture thoroughly to avoid any unmixed areas, which can lead to soft spots on your countertop.
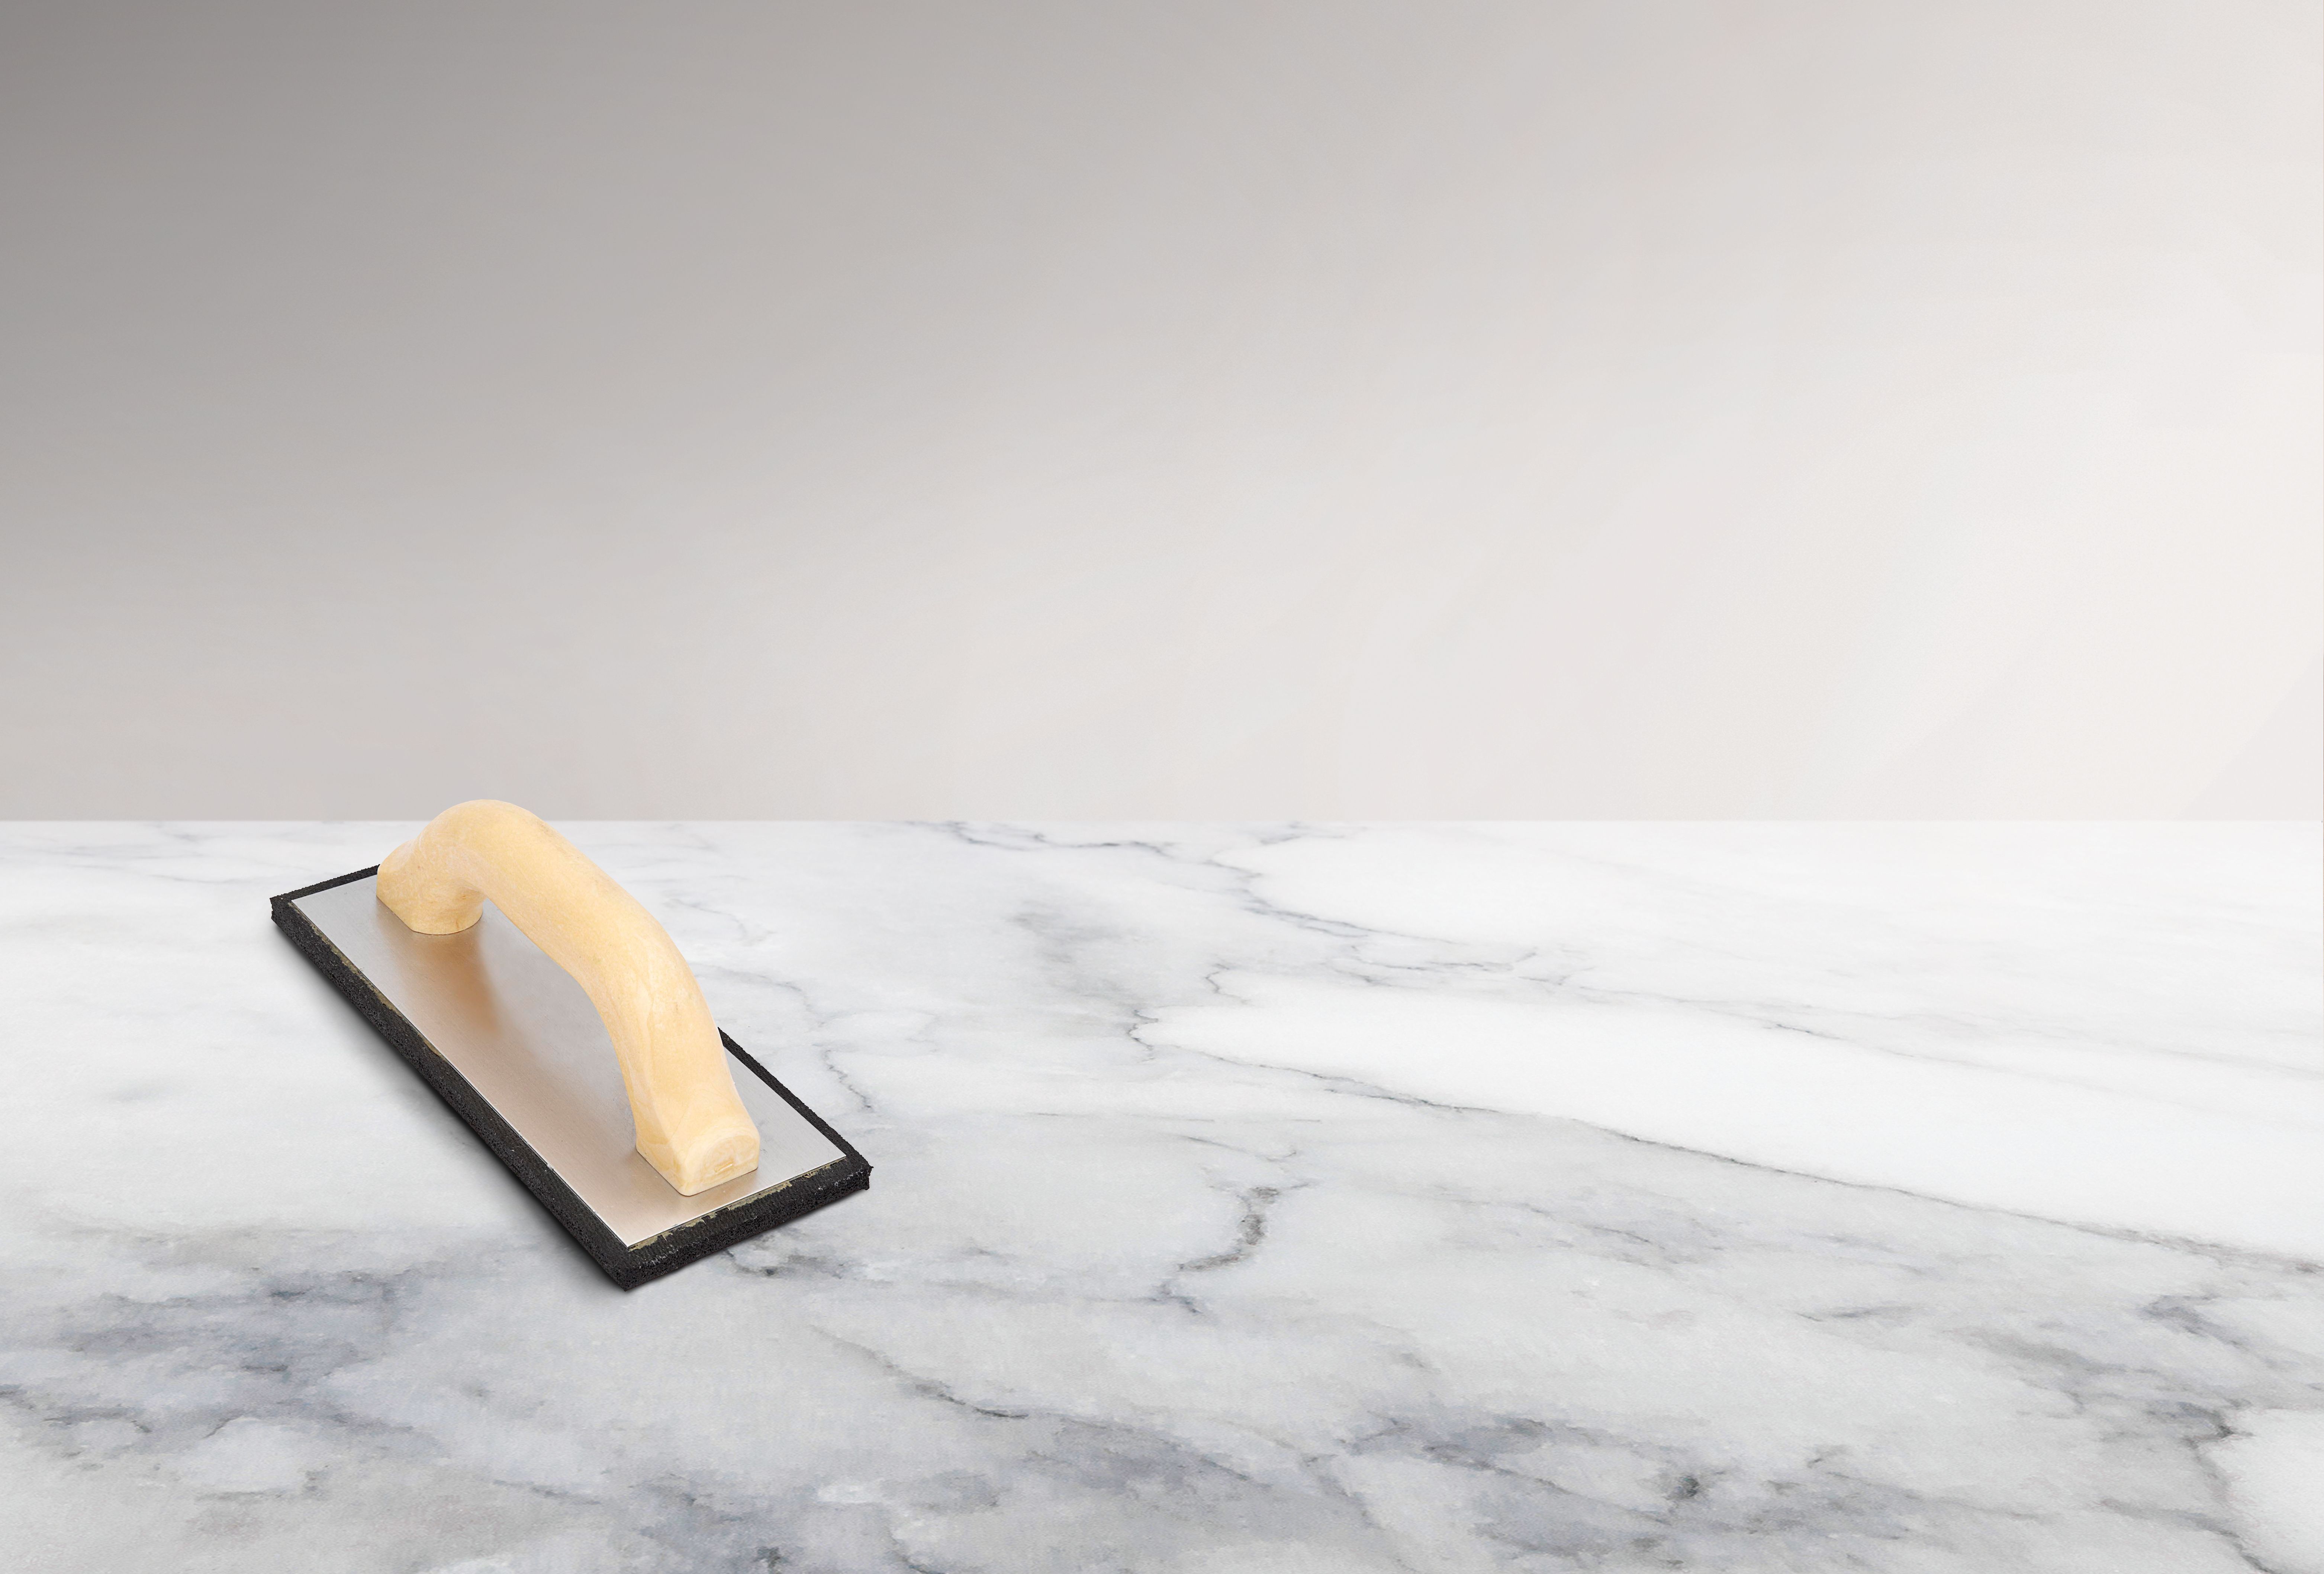
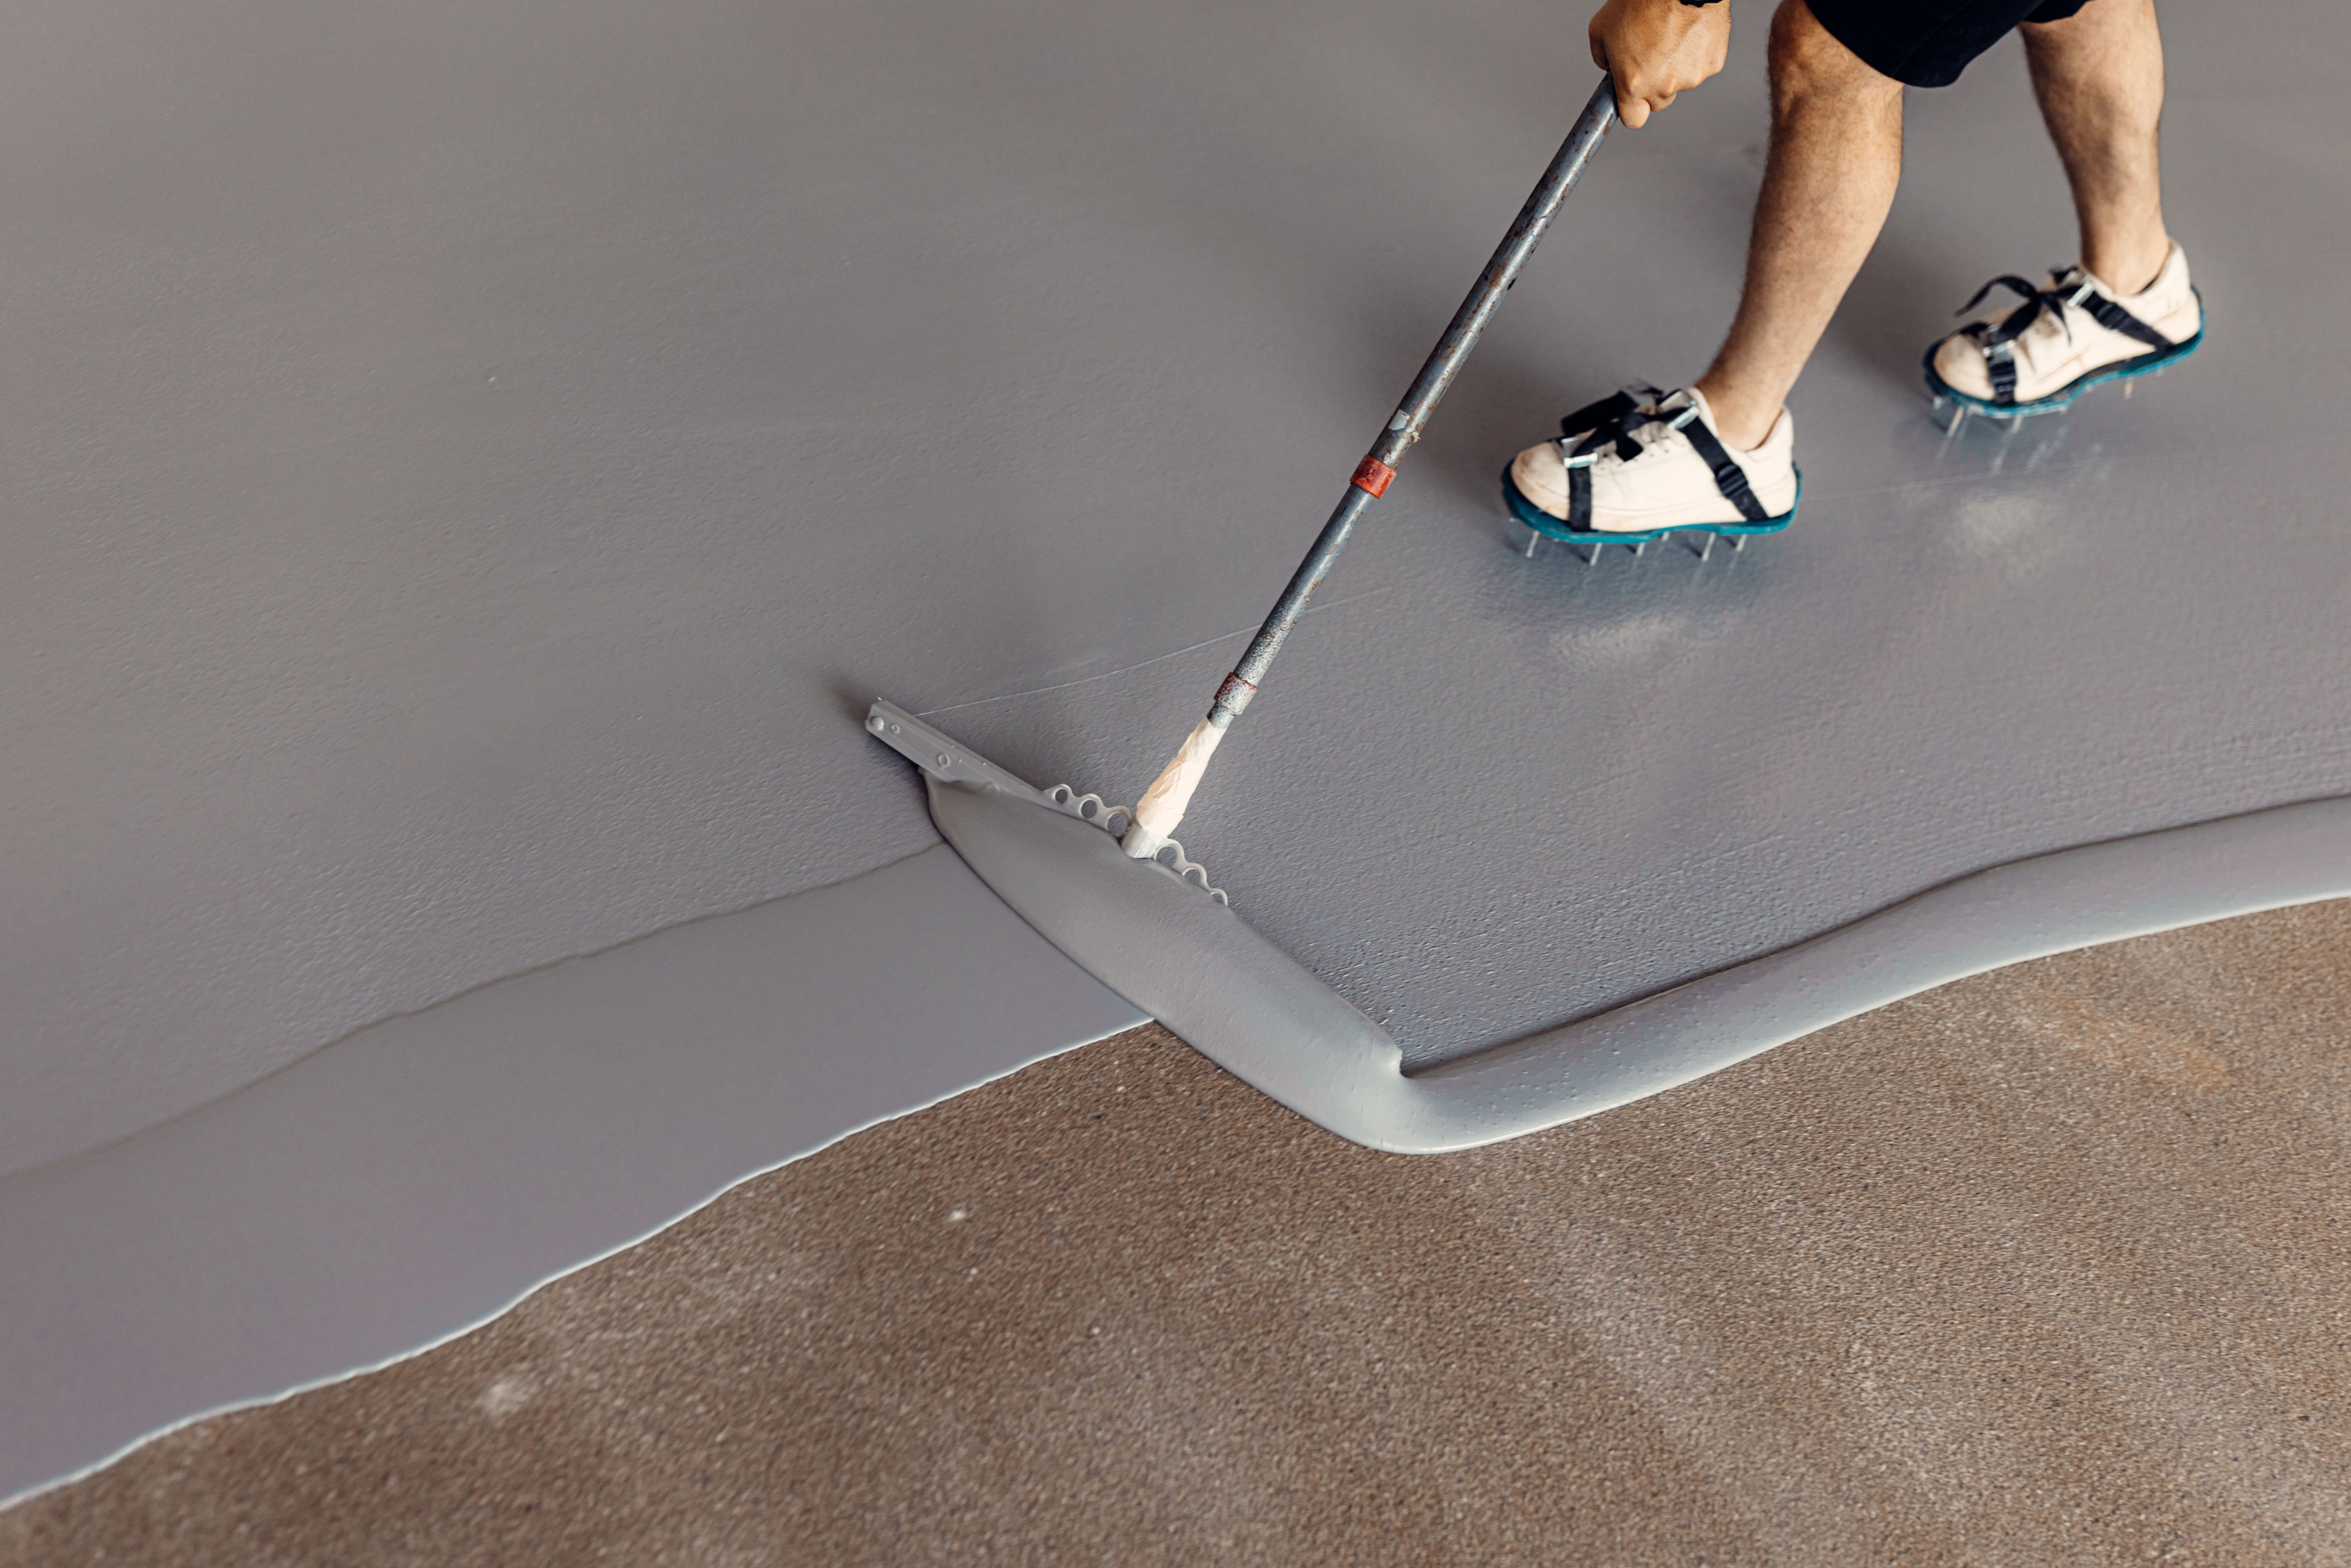
Once mixed, pour the epoxy onto the surface. Use a trowel or roller to spread it evenly across the countertop. Work quickly but carefully, as epoxy can start to set within minutes. Use your heat gun or torch to remove any air bubbles that form.
Creating Your Design
Now comes the creative part. Add your chosen pigments or colorants to create swirls, veins, or any pattern you desire. The heat gun can help move the colors around, giving you more control over the final design. Remember, once the epoxy starts to cure, adjustments become difficult.
Let your creativity flow, but be mindful of working time. Epoxy is forgiving, but it requires a balance of speed and precision to achieve the best results.
Curing and Finishing Touches
Allow the epoxy to cure for at least 24 to 48 hours, depending on the product used. Avoid disturbing the surface during this time to prevent imperfections. Once cured, you can sand any rough edges and apply a final coat of clear epoxy for additional protection and shine.

Regular maintenance will keep your new countertops looking fresh. Clean with mild soap and water, and avoid harsh chemicals that may damage the surface.
Conclusion
Creating DIY epoxy countertops is a feasible and fun project that can dramatically enhance your space. With the right materials and a bit of patience, you can create a custom look that rivals professional installations. Enjoy your new countertops and the satisfaction of a job well done!