
DIY Epoxy Countertops: A Step-by-Step Guide
Understanding Epoxy Countertops
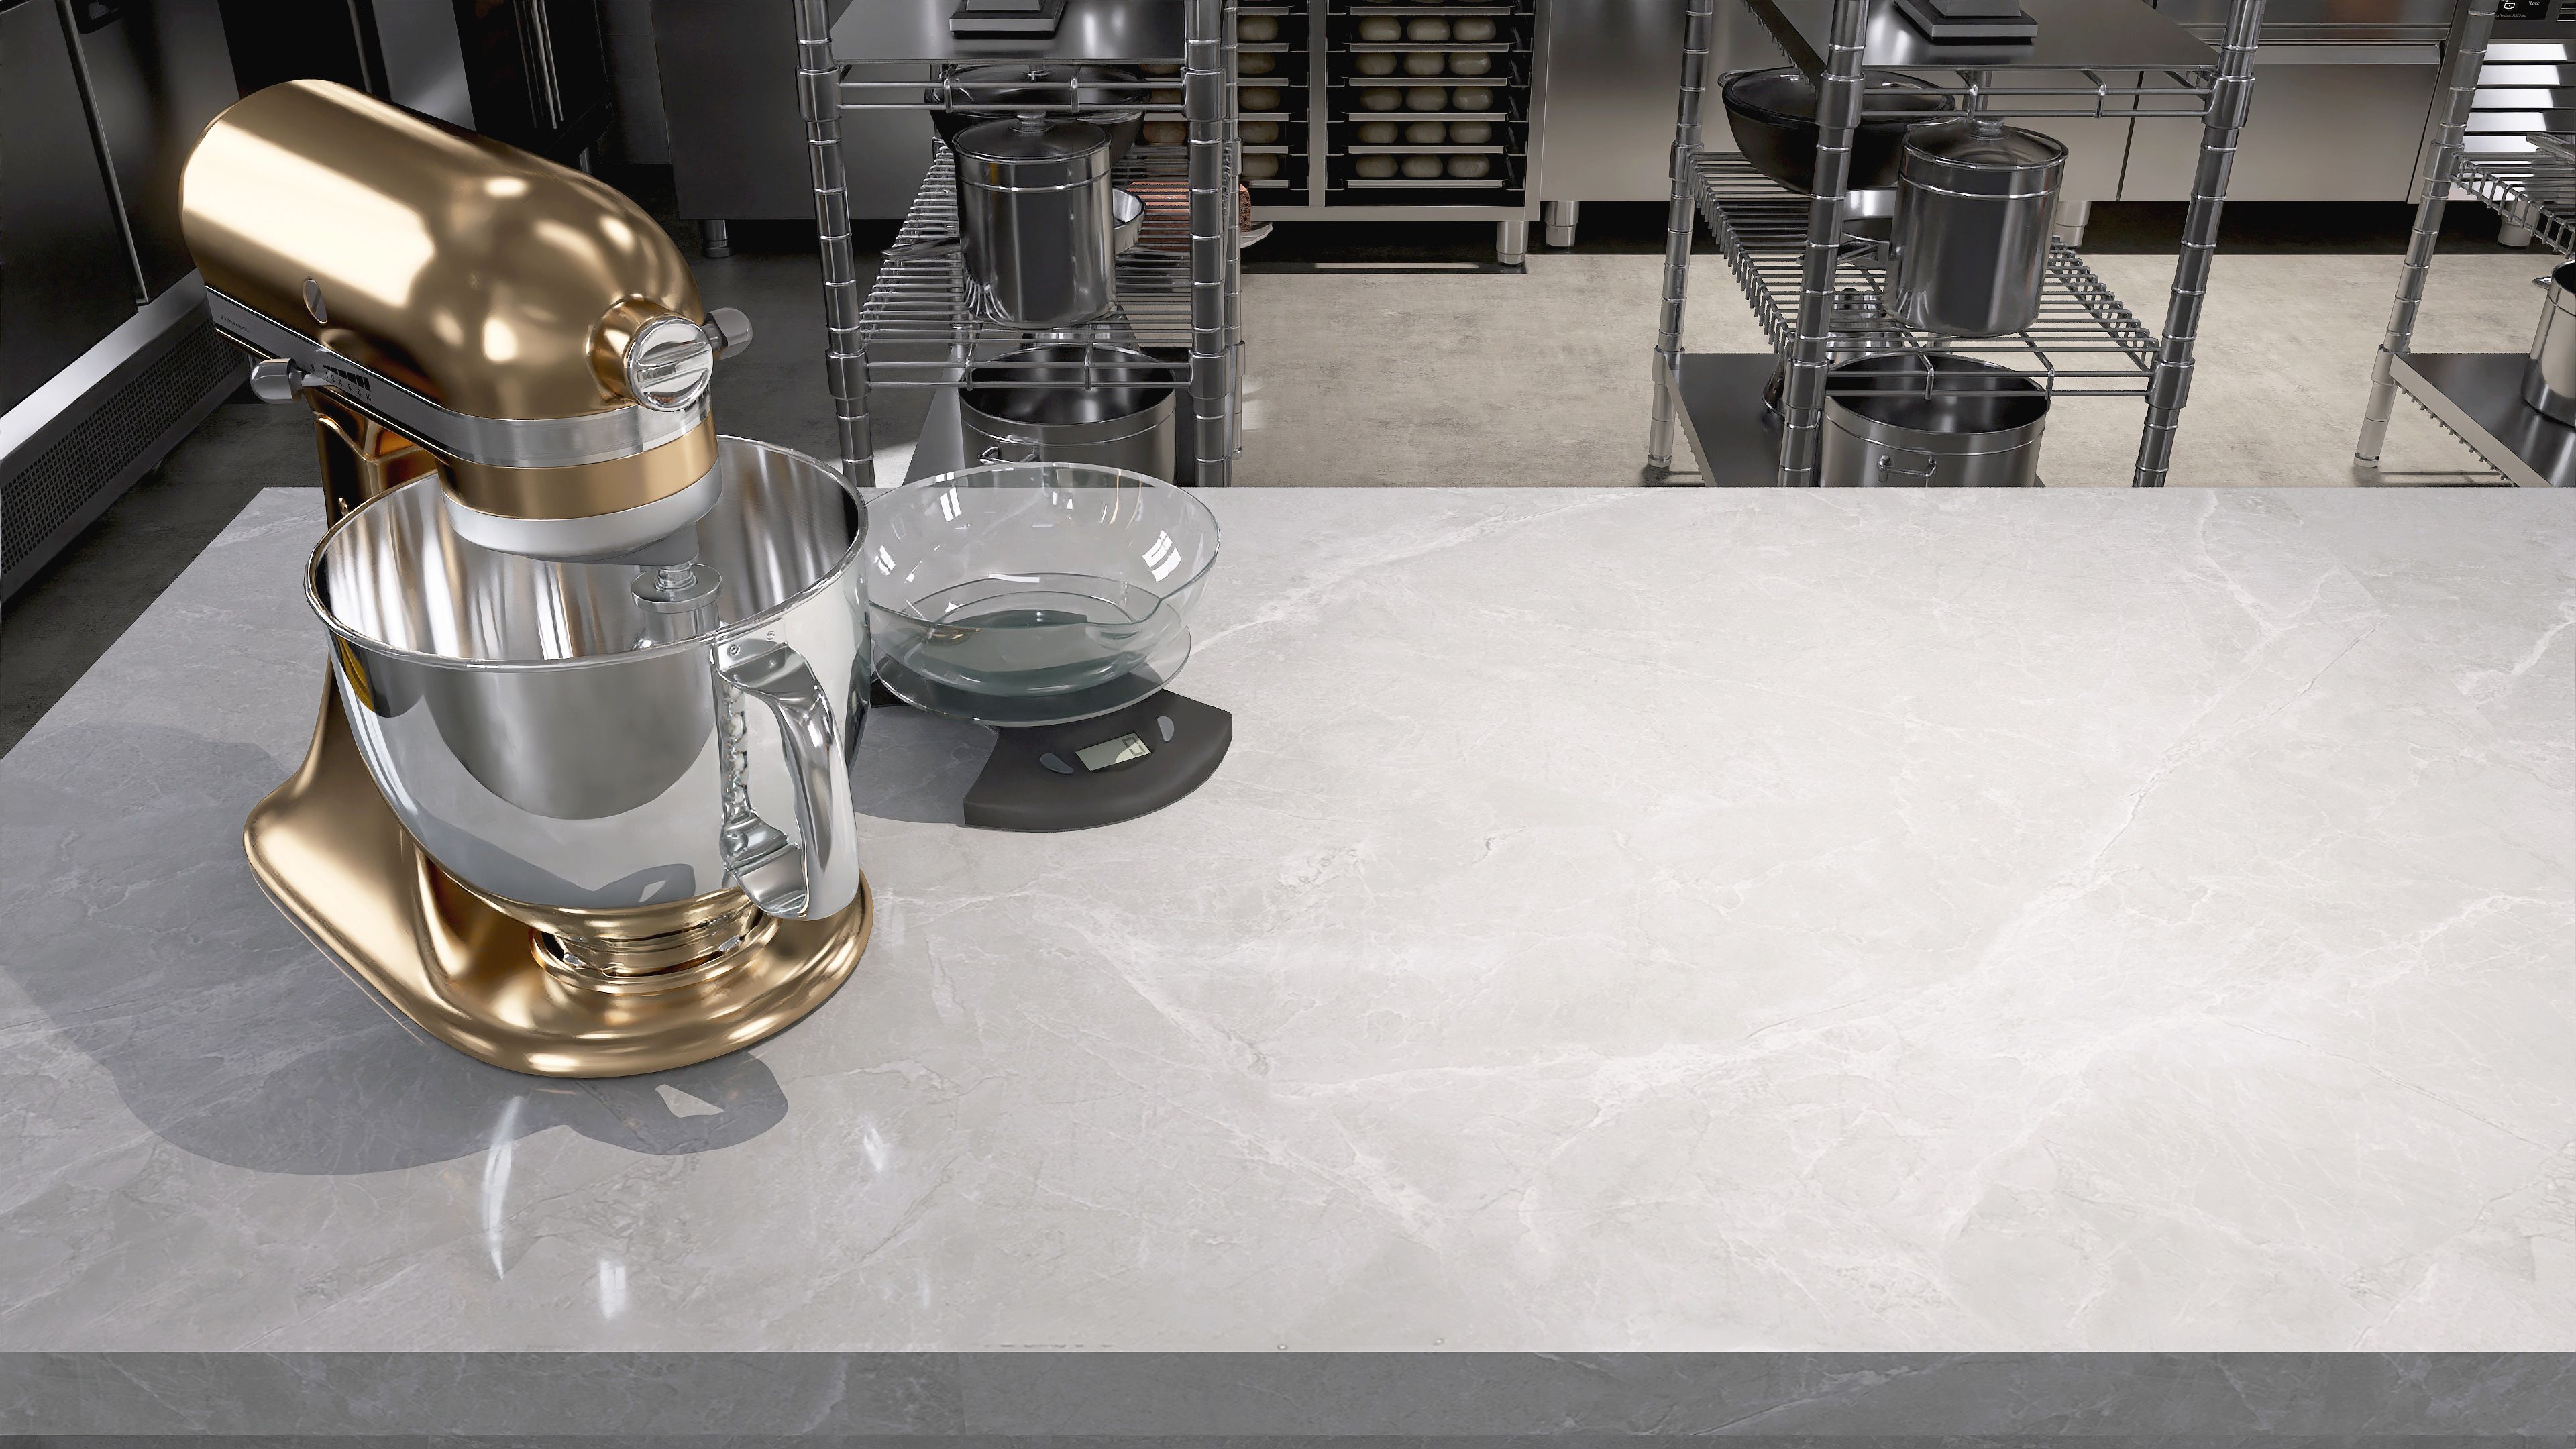
Epoxy countertops have gained immense popularity in recent years due to their durability, glossy finish, and versatility in design. Whether you're looking to revamp your kitchen or bathroom, epoxy can provide a stunning and cost-effective alternative to traditional materials. The best part? You can achieve professional results with a do-it-yourself approach.
Epoxy is a material that, once cured, creates a hard, durable surface resistant to scratches and stains. It's also known for its ability to mimic the appearance of more expensive materials like marble and granite, offering endless possibilities for customization.
Materials and Tools You'll Need
Before you begin, gather all necessary materials and tools. Here's a list of essentials for creating your own epoxy countertops:
- Epoxy resin and hardener
- Mixing containers and sticks
- Protective gear (gloves, goggles, mask)
- Heat gun or torch
- Painters tape
- Drop cloths or plastic sheeting
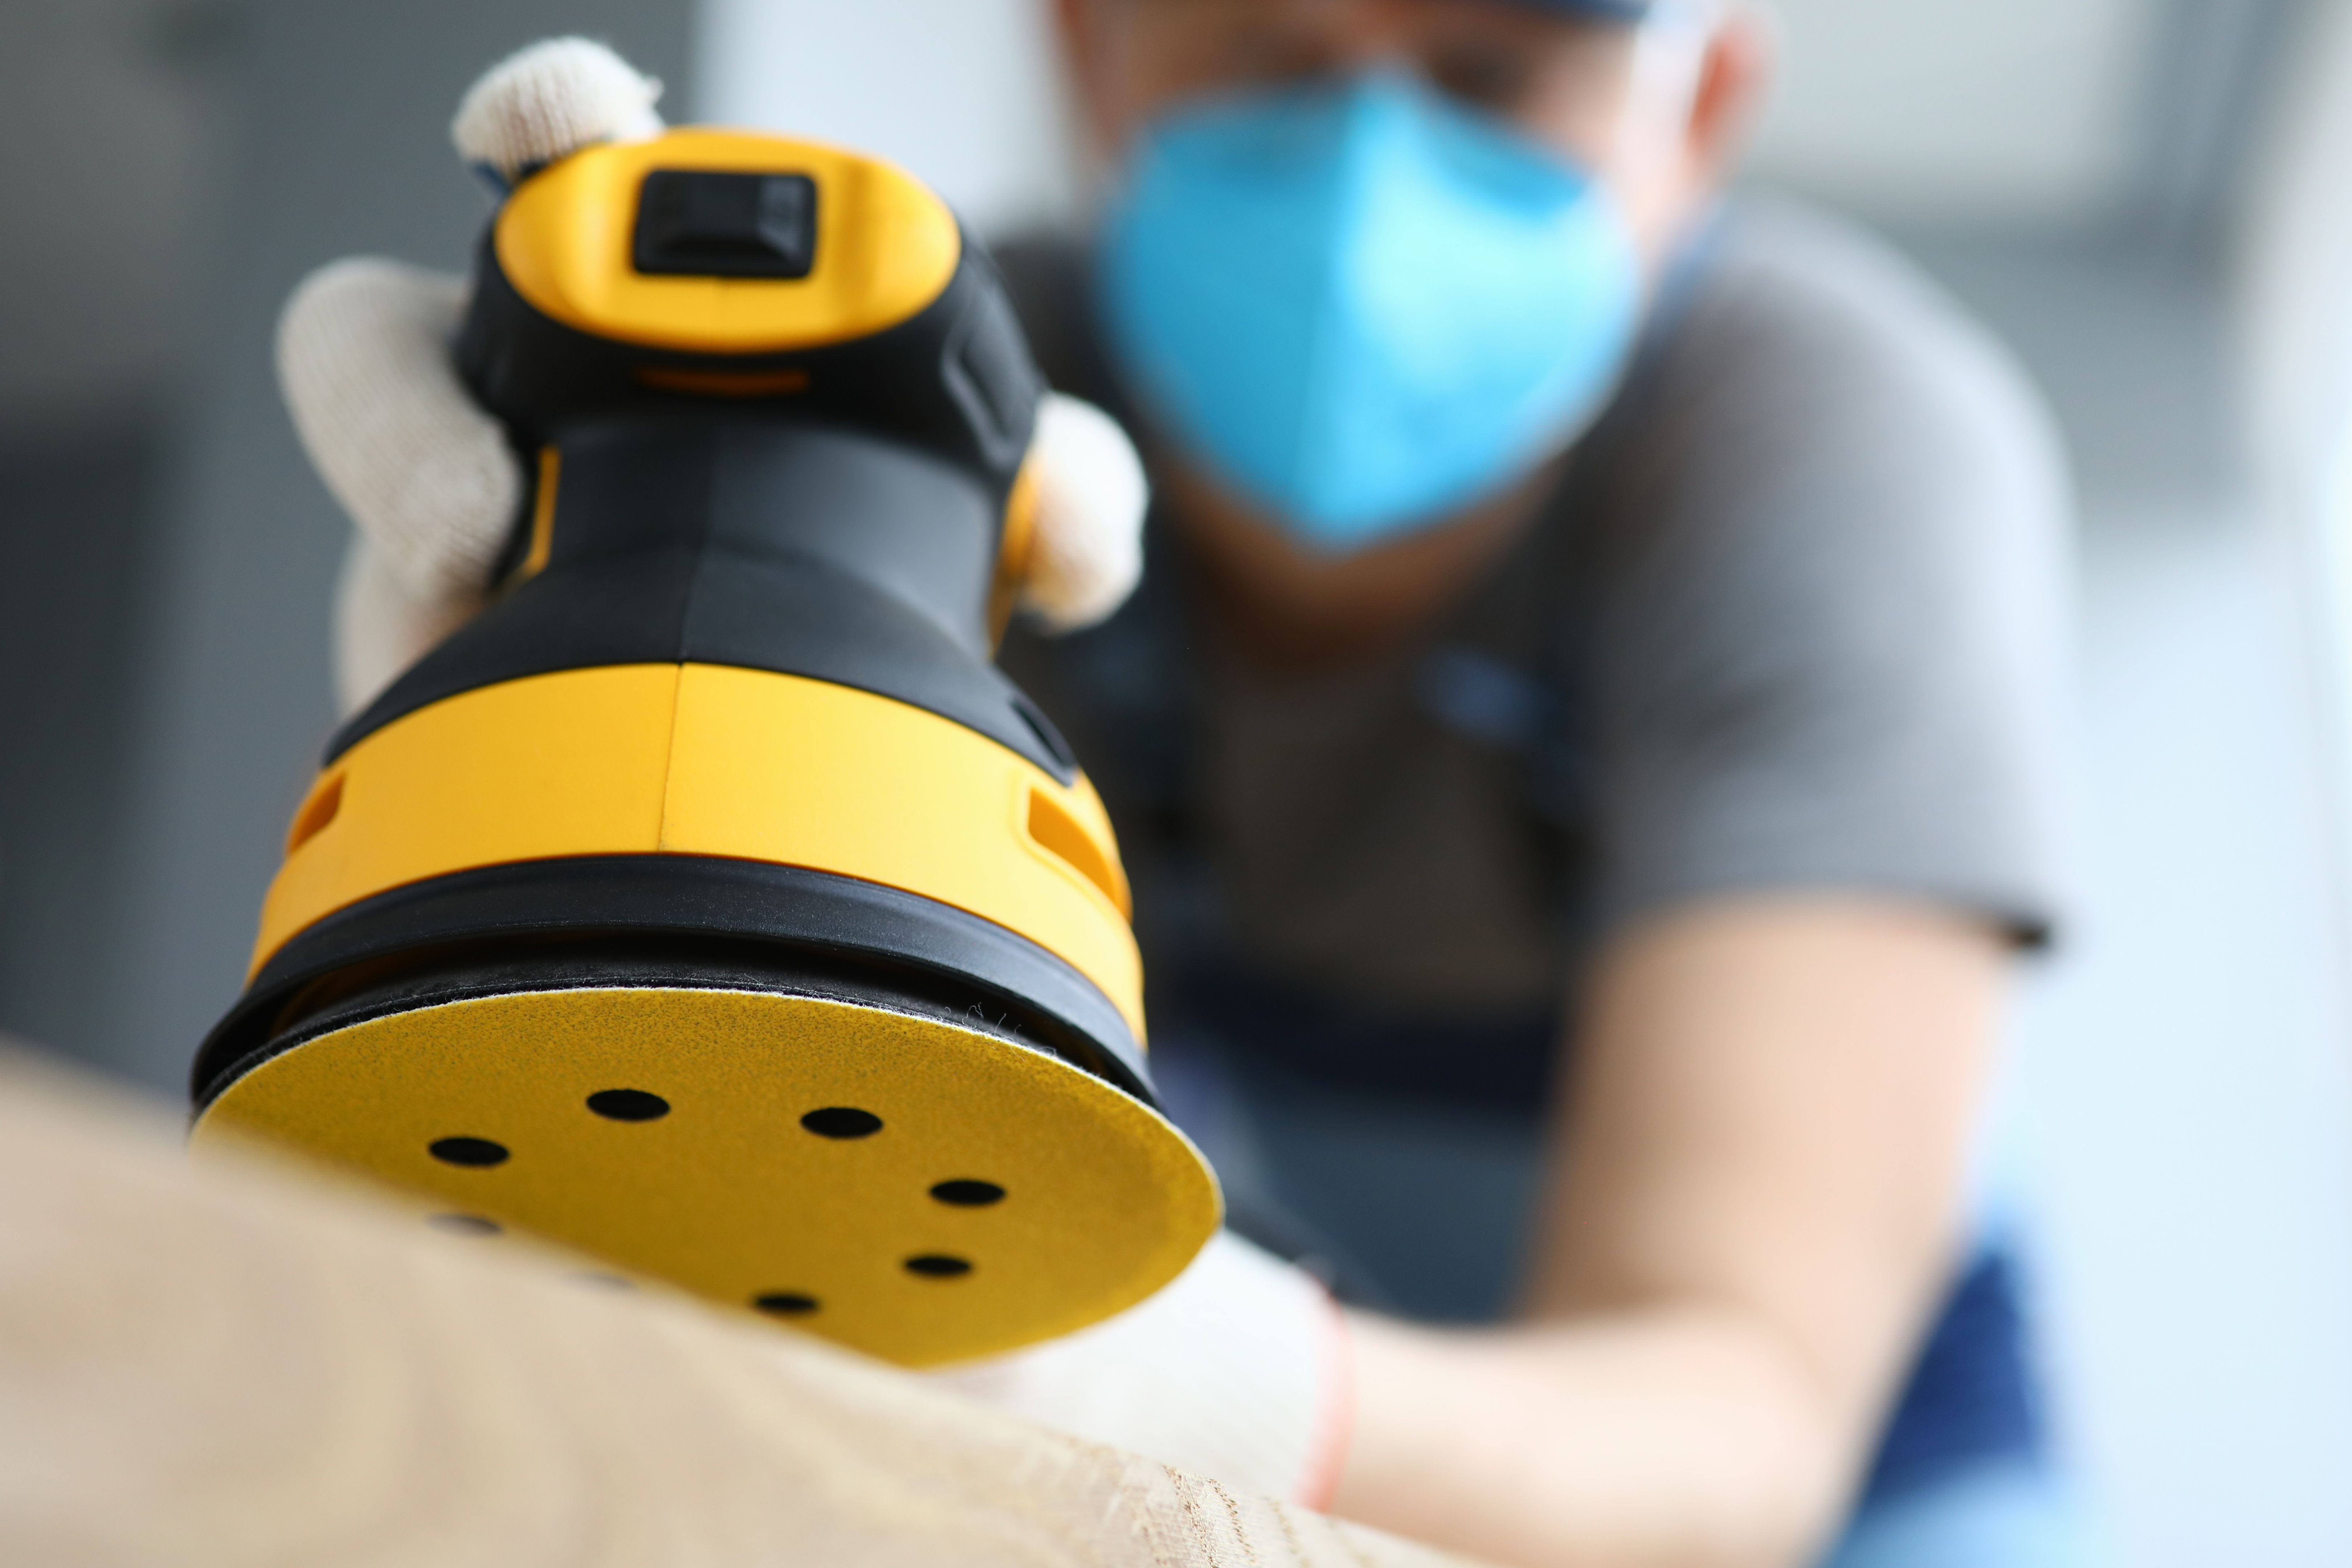
- Sanding tools (sandpaper or electric sander)
It's crucial to choose quality products, especially the epoxy resin, as it will significantly impact the final look and durability of your countertops.
Preparing Your Countertop Surface
The first step in the DIY process is preparing your existing countertop. This involves cleaning, sanding, and ensuring the surface is level. Begin by thoroughly cleaning the countertop to remove any grease or debris. Sanding is essential to create a rough surface that helps the epoxy adhere better.
Once sanded, wipe down the surface with a damp cloth to remove dust particles. Apply painters tape around the edges to prevent the epoxy from spilling onto unwanted areas.
Mixing and Applying Epoxy
Now for the exciting part—mixing and applying the epoxy. Follow the instructions on your epoxy kit carefully, as precise measurements are crucial for a successful outcome. Generally, you'll mix equal parts of resin and hardener in a container, stirring slowly to avoid air bubbles.
Pour the mixed epoxy onto the prepared surface, using a spreader or brush to distribute it evenly. Work quickly but carefully, as epoxy starts to set fairly soon after mixing. Use a heat gun or torch to remove any air bubbles that may appear on the surface.
Curing and Finishing Touches
After applying the epoxy, allow it to cure according to the manufacturer's instructions. This process can take anywhere from a few days to a week. During this time, ensure the area is dust-free and undisturbed.
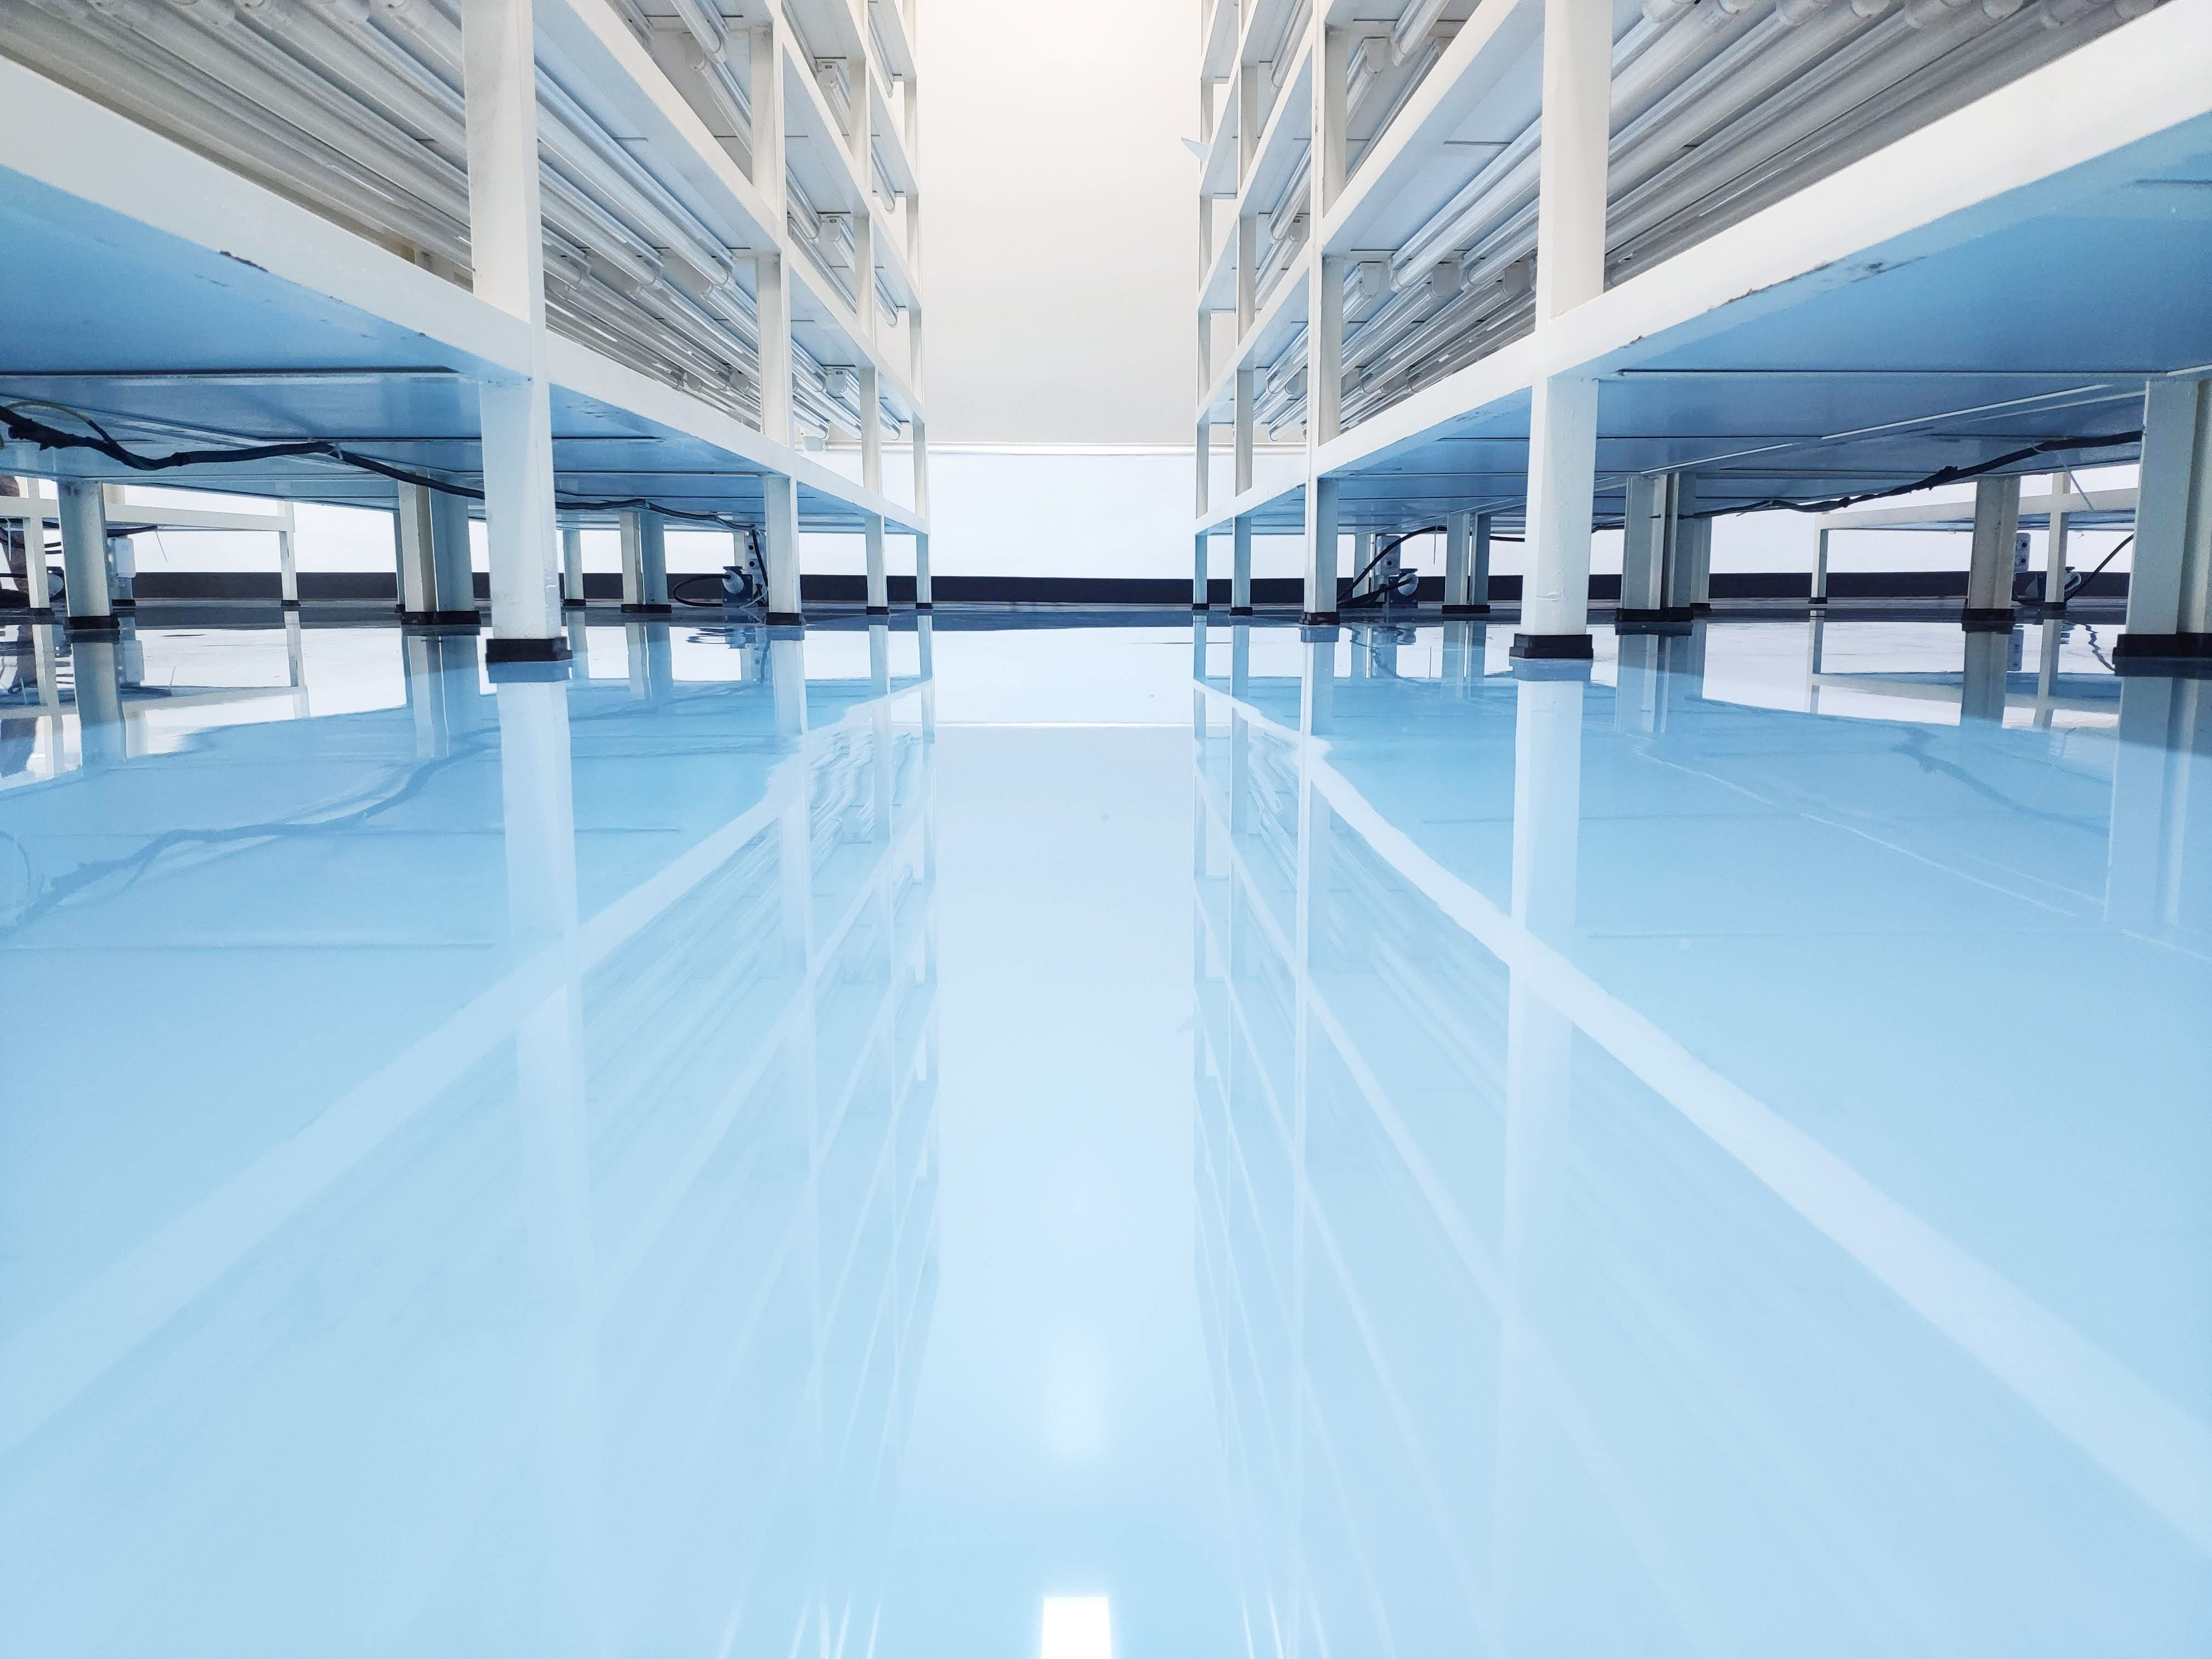
Once cured, inspect your countertop for any imperfections. If needed, sand down any uneven spots and apply a second coat of epoxy for a flawless finish. The result will be a beautiful, glossy surface that's both functional and aesthetically pleasing.
Final Thoughts
Creating your own epoxy countertops can be an incredibly rewarding project that transforms your space while saving you money. With careful preparation and attention to detail, you can achieve stunning results that rival professional installations.
Remember, practice makes perfect. If you're new to working with epoxy, consider starting with a small project or piece of furniture before tackling larger surfaces like countertops. With time and experience, you'll master this versatile material and enjoy the benefits of your hard work for years to come.